Adobe Animate File Naming Conventions
All animation assets are stored in the simulation-assets repository on GitHub. Backup copies are stored on Google Drive. Always make sure you’re working with the latest version of an asset .fla and always back up files to Drive.
You may keep your own copies and organization of .fla files on your own computer, however each scene must be condensed into one file when uploaded to GitHub or to Drive. Files and Layers must follow a strict naming convention due to the simulation code. There is one condensed file per scene. This file contains all layers of both avatar figures (if the avatar is part of the scene) and all feature layers of both avatars.
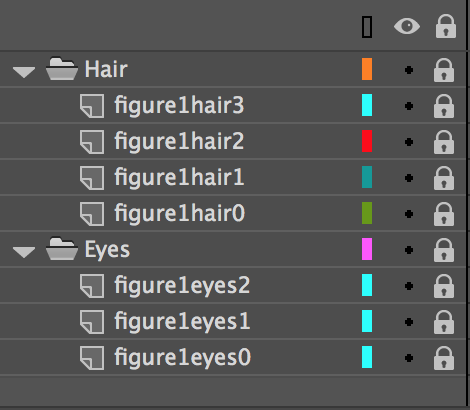
Figures and feature layers are numbered beginning at 0. (i.e. 0, 1, 2…)
figure0 is the new name for our stereotypically male-looking figure.
figure1 is the new name for our stereotypically female-looking figure.
Going forward, the next figure we add should be named figure2 (later, figure3 and so on).
Feature layers must be named similarly. For example:
figure0hair0 is the first hair style on figure0 and figure1eyes3 is the third eye option on figure1.
Filenames consist of the scenario name followed by the scene name and separated by an underscore.
Always name .fla files [Scenario Name]_[Scene Name]. For example:
Larceny_FlashbackGuilty.fla contains the guilty condition flashback scene for the larceny scenario, two avatar layers, six eye option layers, and eight hair option layers.
Hit and Run Scenario Scene Files
- HitAndRun_Intro.fla
- HitAndRun_FlashbackGuilty.fla
- HitAndRun_FlashbackInnocent.fla
- HitAndRun_SecurityFootage.fla
Developer Publishing NOTE: Scenario1_SecurityFootage_AllFigures.fla doesn’t need to be palettized, or have feature versions generated. It just needs to have the var lib definition updated manually using add-lib.sh
Larceny Scenario Scene Files
- Larceny_Intro.fla
- Larceny_FlashbackGuilty.fla
- Larceny_FlashbackInnocent.fla
- Larceny_SecurityCam.fla
Scene Files Applicable to All Scenarios
- AllScenarios_Jail.fla
- AllScenarios_PhoneRoom.fla
Example Workspace
Avatar layers
Jail
For the “No Background” export, all of the background layers should be disabled: 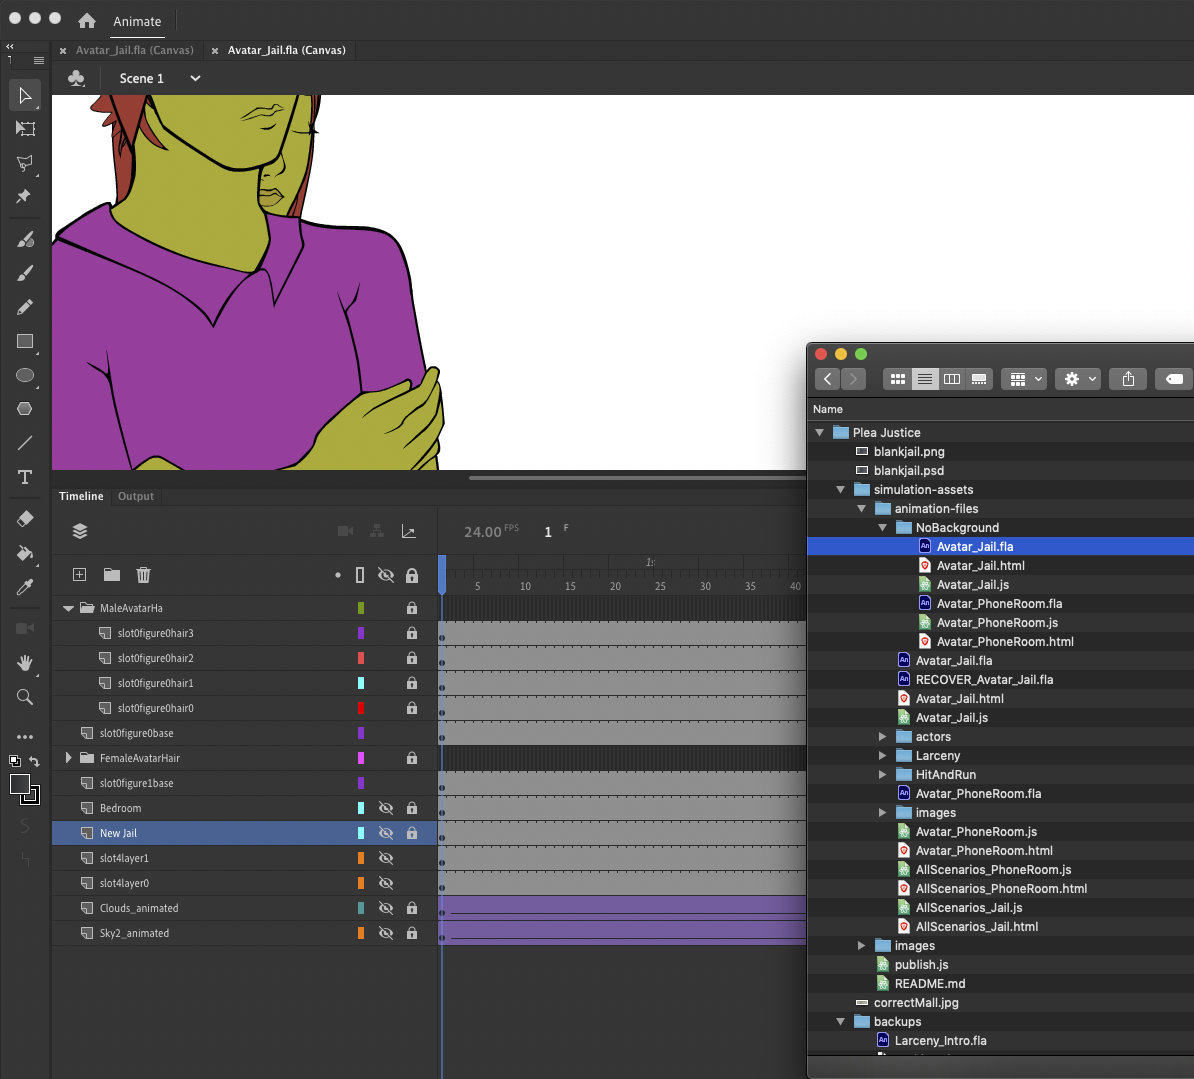 NOTE: those layers are hidden anyway and won’t be published to JS. They can be removed from this FLA. I guess are just in there for reference.
For the regular export, all of the background layers should enabled with the static sky layers above the animated sky layer. The jail image should be above all of the sky layers: 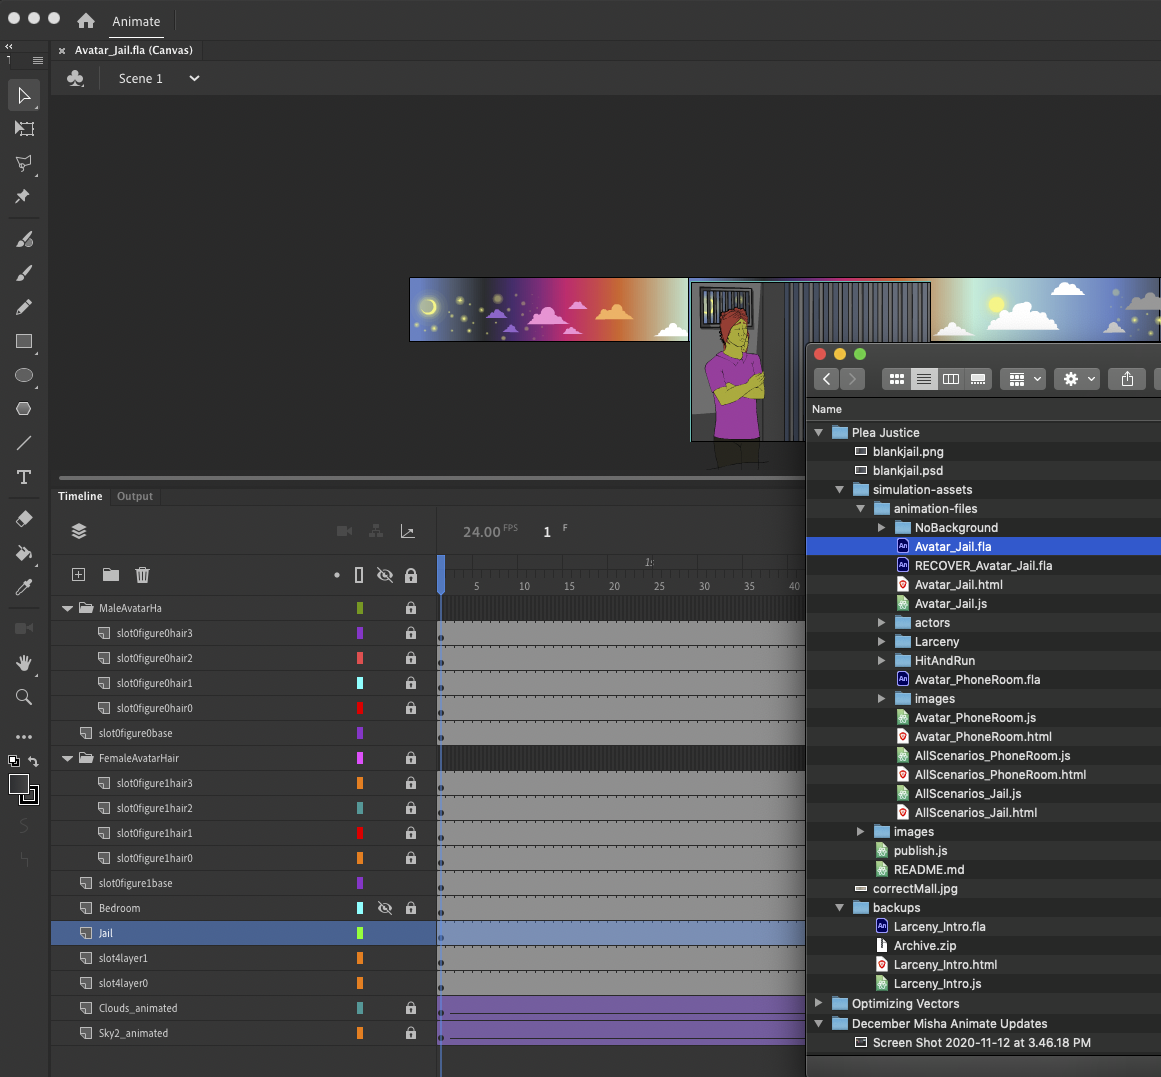
Additional Guidelines
Do not use a version of Adobe Animate older than 20.0.4.
Every file must be created as a Full HD 1920 x 1080 file. This is every asset, including actors.
Every file must be created as an HTML5 Canvas File in Adobe Animate.
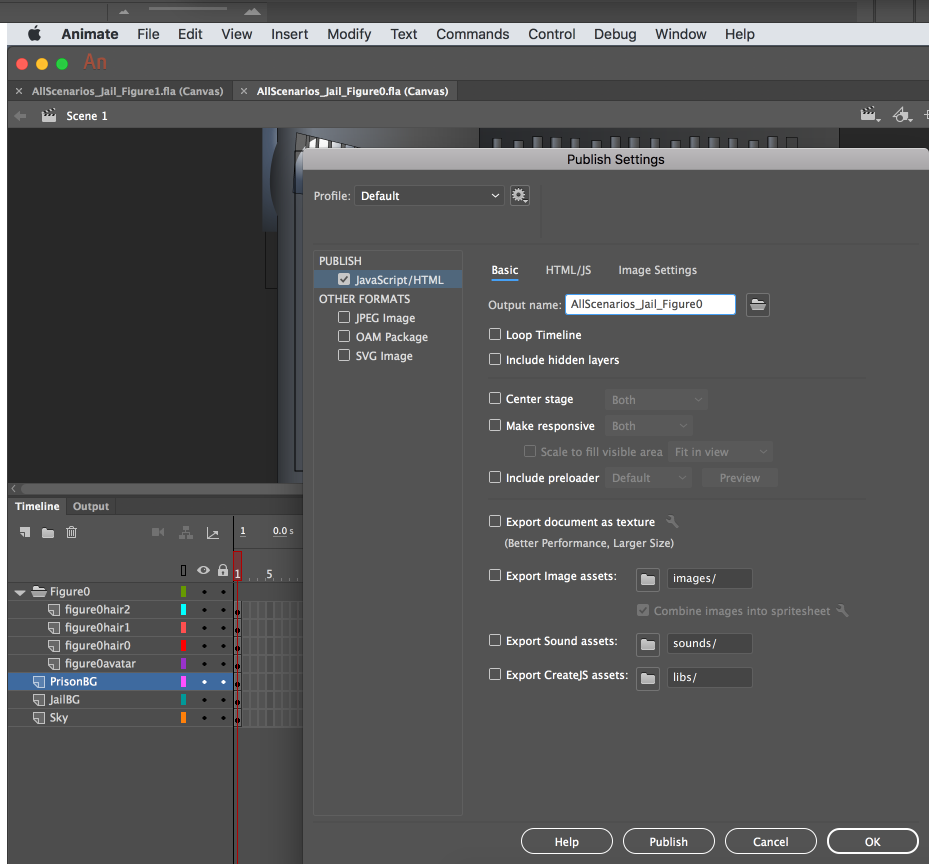
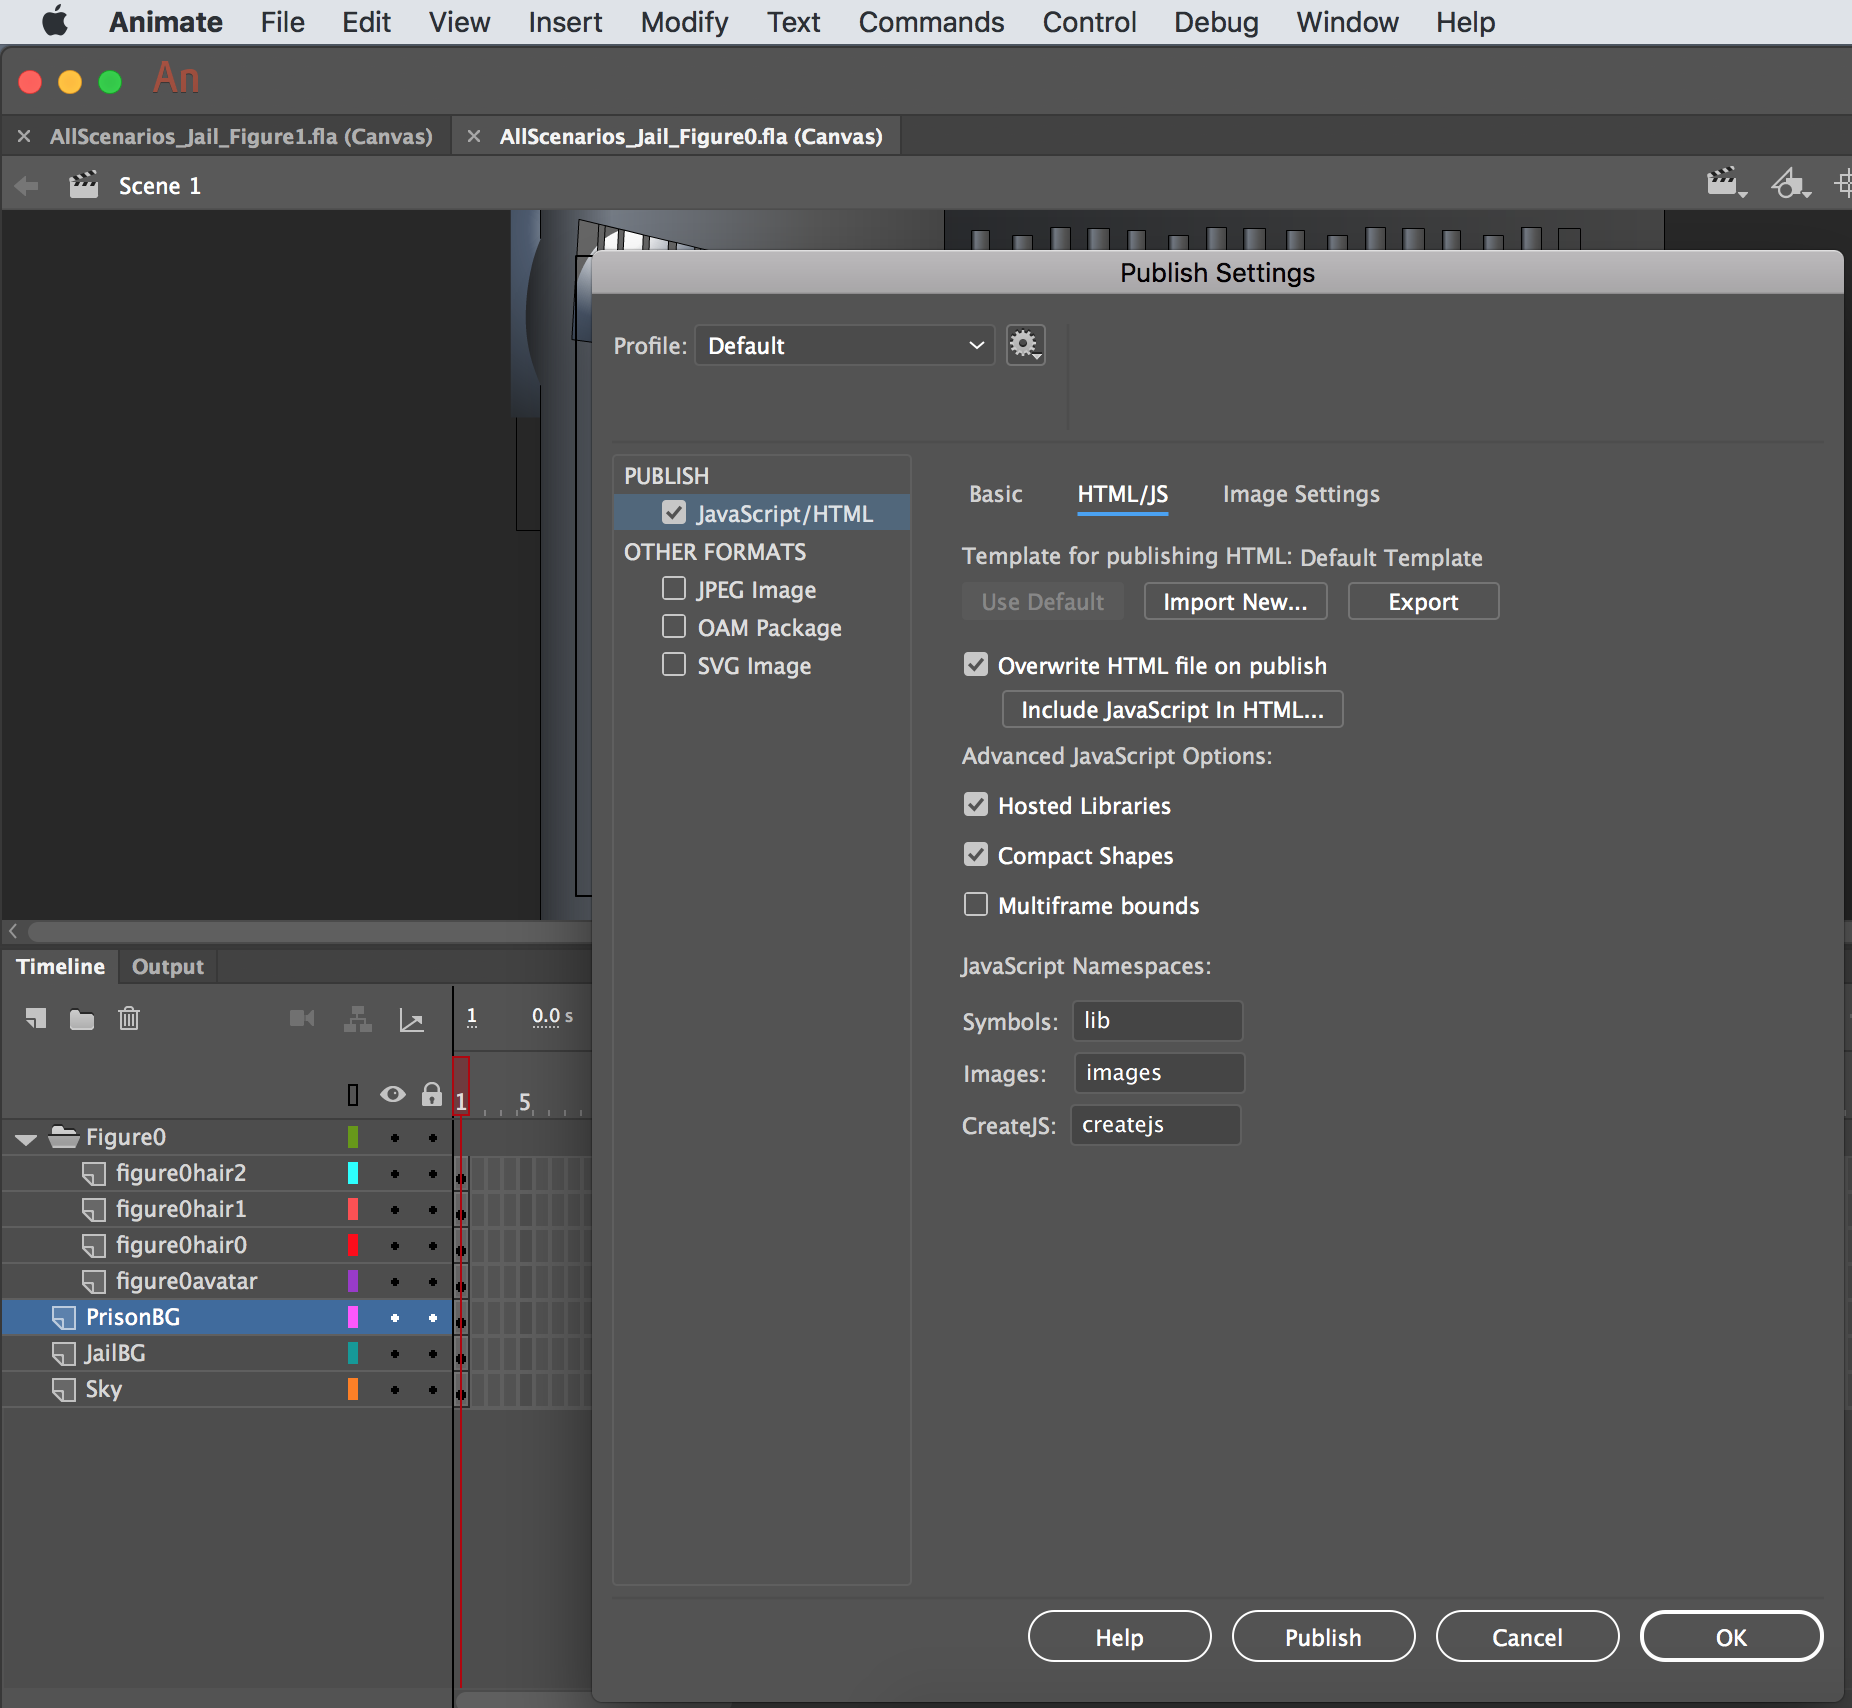
Make sure to set Basic and Advanced Publishing Settings like so: Basic (nothing checked), HTML/JS: Overwrite, Hosted Libraries, Compact Shapes. Under these settings, hidden layers will not be published.
Don’t rely on stage color to produce a background. Stage color is omitted in publishing by Animate. If a background color is needed, such as a solid yellow background for Larceny_Intro.fla, create an explicit background layer with the rectangle shape taking up full stage and color it.
Use Classic Tweens in Animate where possible. Any animated figure should be a Graphic Symbol with a minimal walk cycle. Moving the animated figure across the stage should be done with time-saving Classic Tween whenever possible (vs. frame-by-frame animation).
Take care to backup your working fla files on your own backup drive as well as on the shared drive. When uploading files, please do it under your own unique user and not as a shared user so contributions can be properly attributed. In other words, don’t log into drive as the admin@pleajustice.org user to upload. Upload your ‘condensed’ files as described in Deliverables above to their appropriate folders and overwrite the old files with the same name. Google Drive will ask if you want to overwrite or keep version separate, you do not want to keep them separate. We can always go back to an old version with ‘Manage Versions’.
Performance
Layer Organization is important. Organize layers in layer folders in Adobe Animate to make the project straightforward to understand by another team member.
Help keep the published js files smaller in size by using walk cycle loops, tweening animations whenever possible, simplifying shapes, merging background layers (anything thats not in the key layers discussed above such as figure0hair0, etc.) into one layer while making sure everything is still editable (use grouping or converting things into symbols (or movie clips, but I think symbols are slightly lighter weight) so they can be edited later). Use this Adobe guide on optimizing the animations.
Optimizing shapes
Step one - Draw vectors or trace an image, but please prune duplicates
Background art should be natively drawn or copied in vectors. If copied in make sure the background is not an image but vectors, e.g. vectorized/traced rasters (pngs, jpgs, whatever). Here is a background png getting traced with default settings: 
Once a background is traced from an image, the image can be removed from the library to save space. Make sure there aren’t duplicates of backgrounds anywhere on the tilemline or under other art Look at the contents of the Library and remove any duplicate pngs or symbols.
See how this one has a duplicate Recovered image for some reason? We don’t want that. 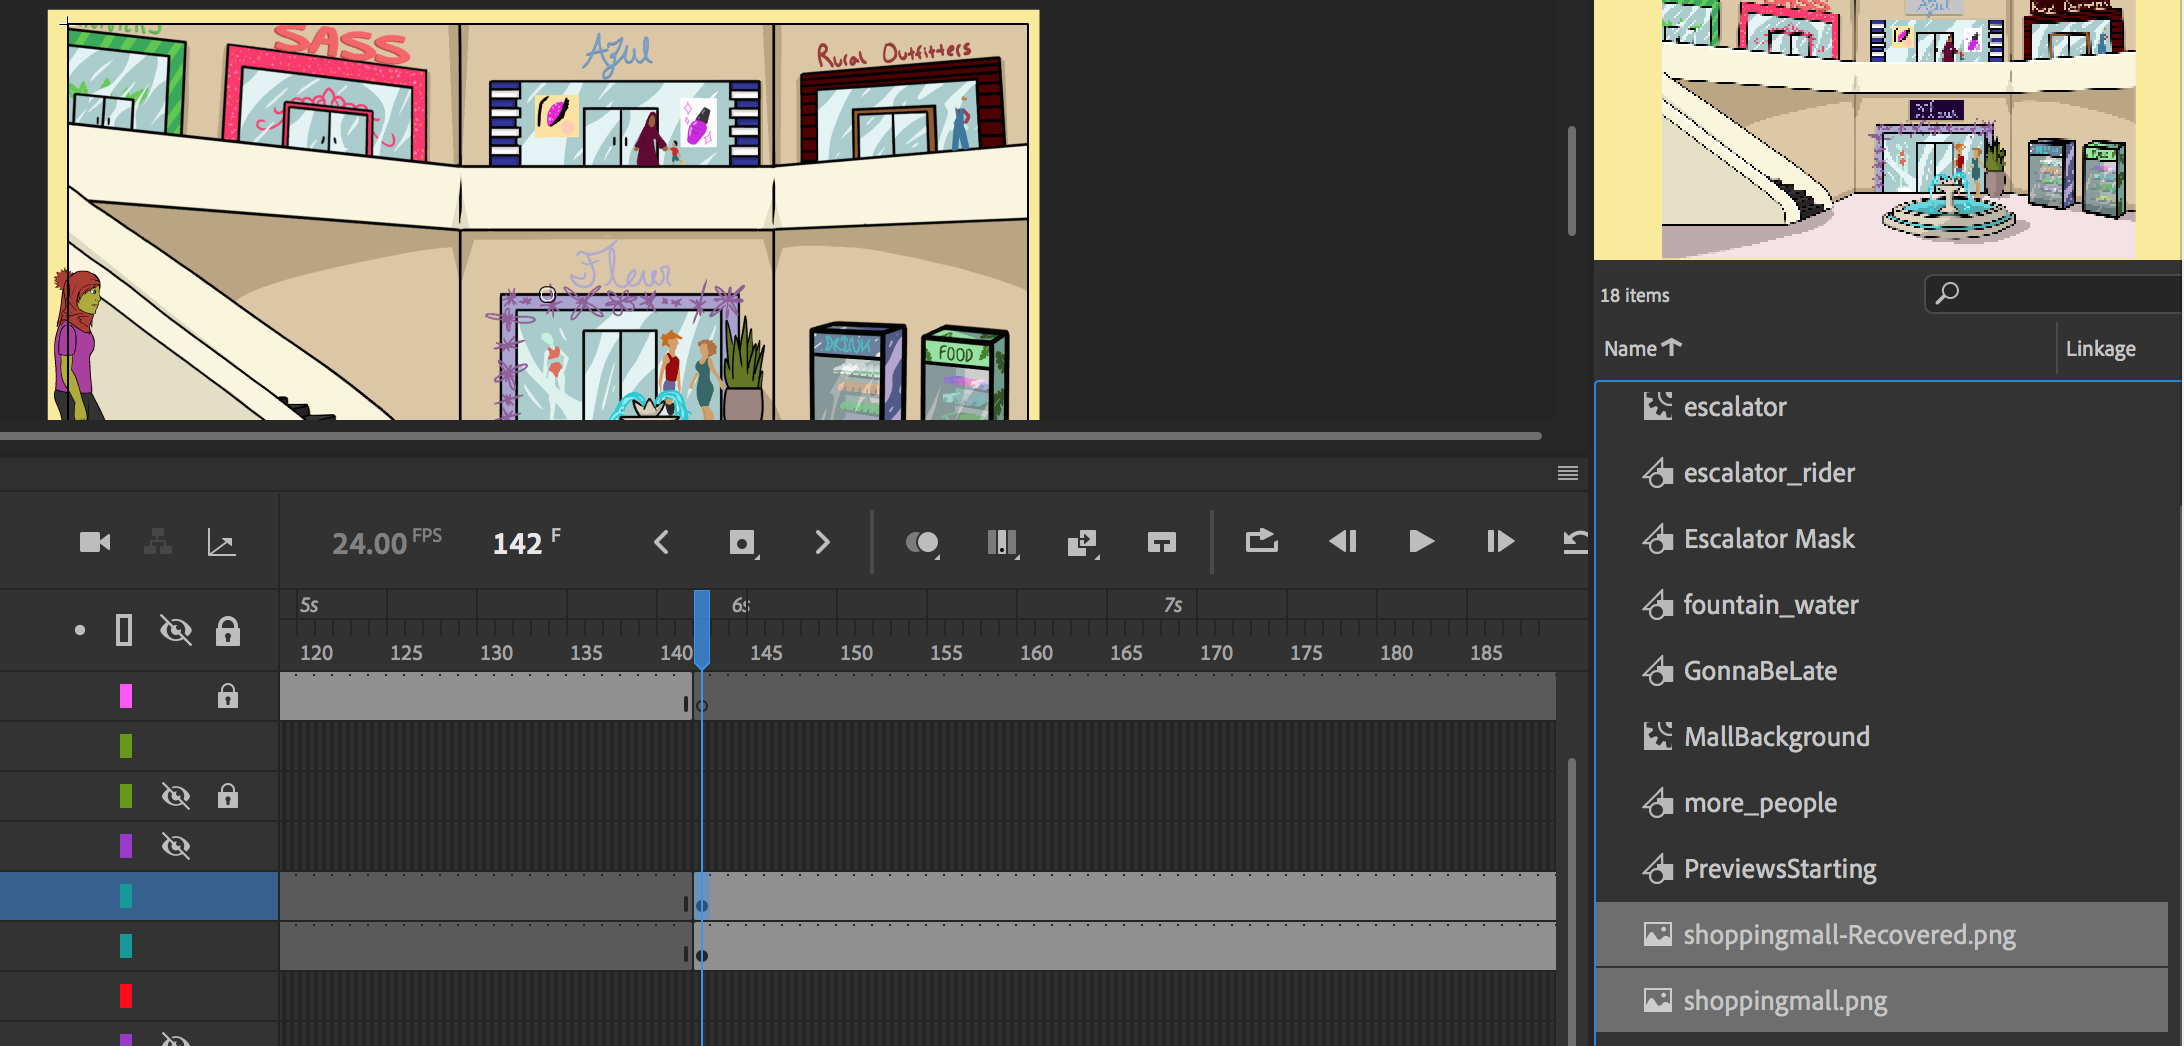
See how this one uses duplicate assets in a later part of the timeline? Not ideal. 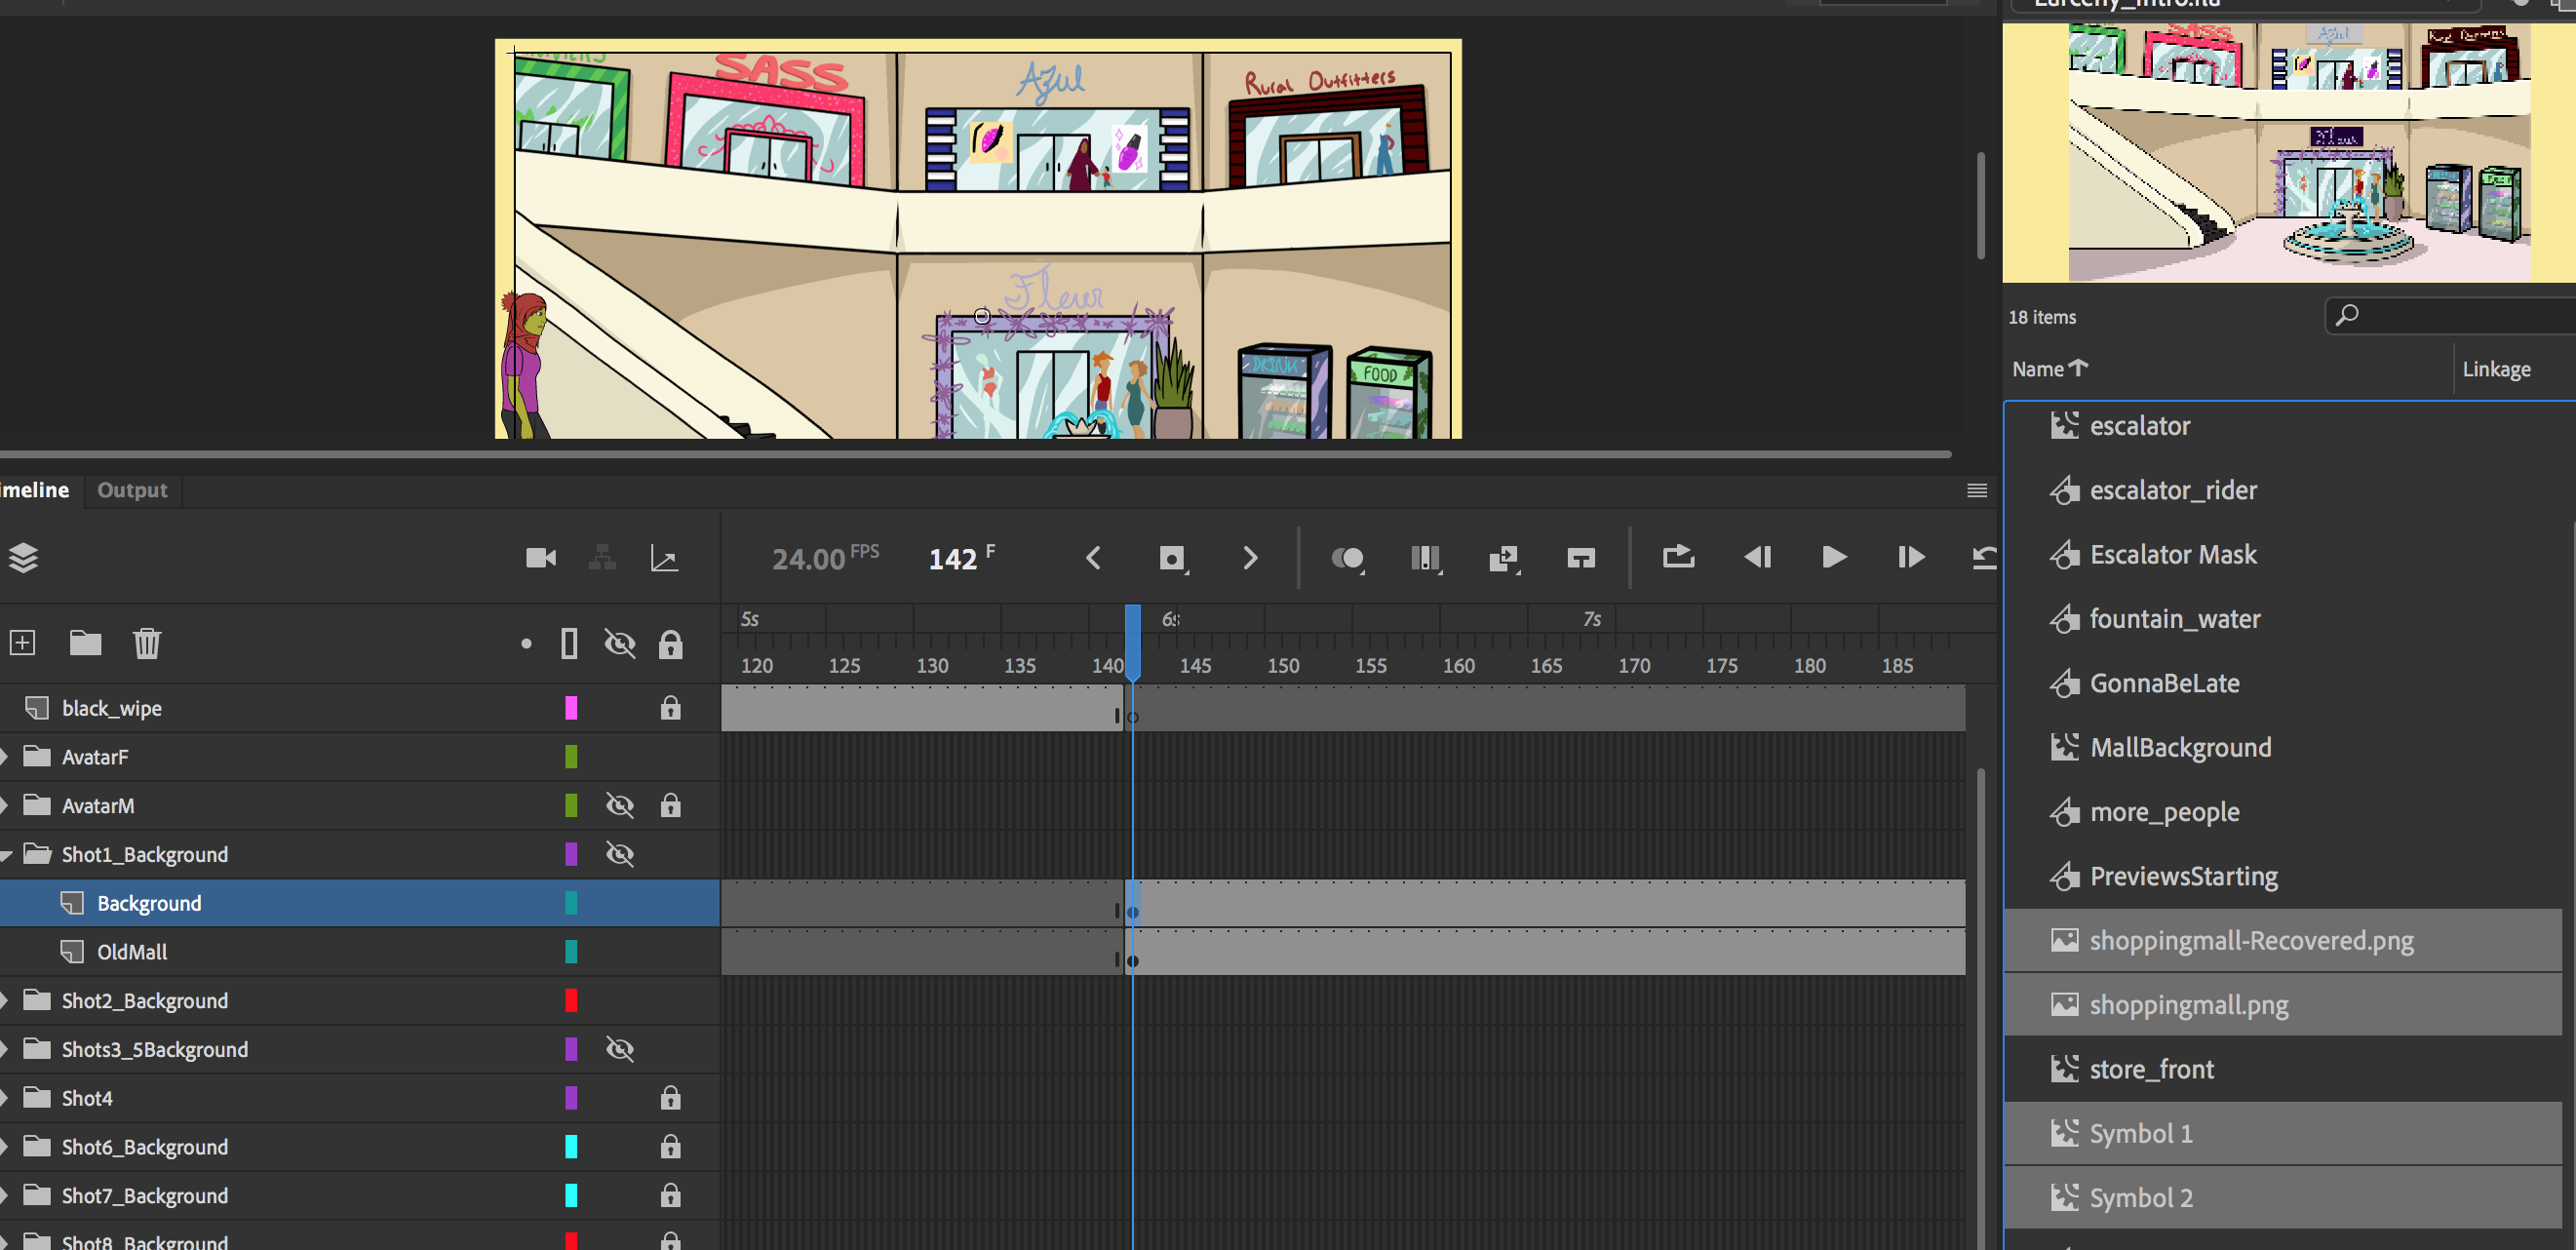
Step two - Optimize shapes for faster RAM performance
Click on the first frame in the timeline layer to select all the shapes (or double click it if it’s grouped), then Modify > Shape > Optimize: 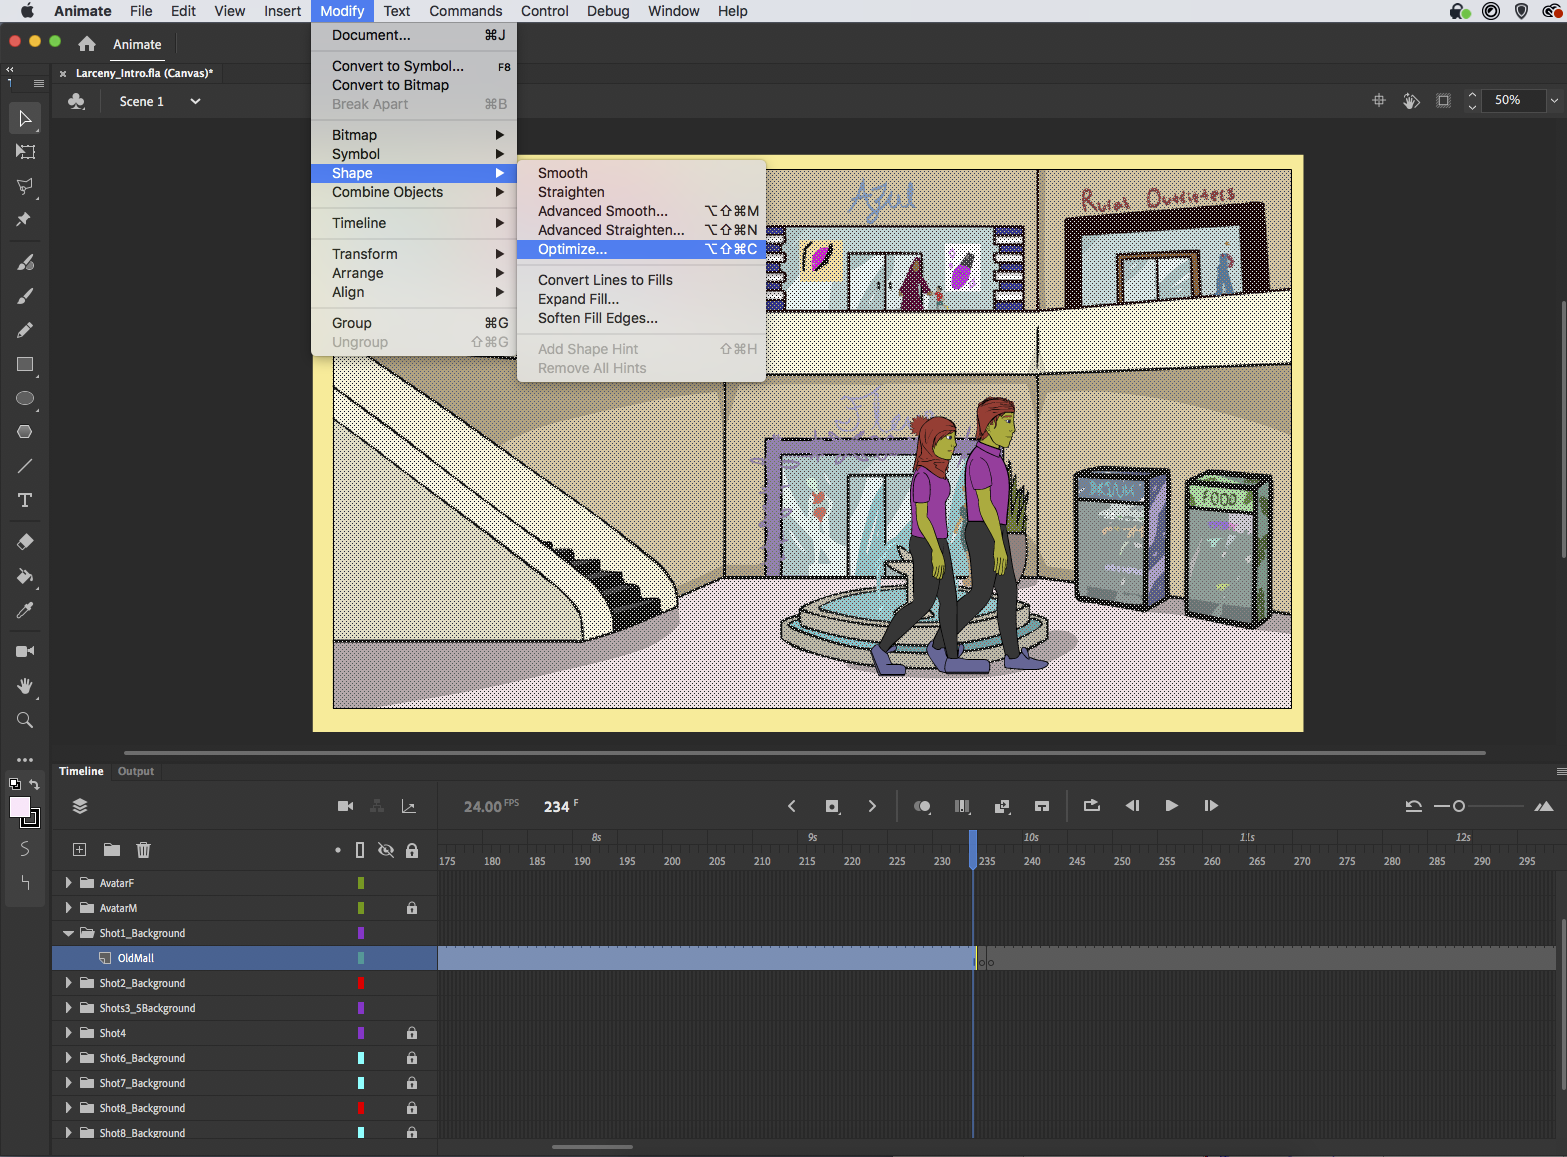
The higher the strength of the optimization (max is 100) the more detail could get lost in the image. Feel free to experiment with this setting to keep enough detail while still optimizing. I did 100 and I found the detailed lost was acceptable, but if not lower the strength. Test the pupblished JS file in browser and note the performance. 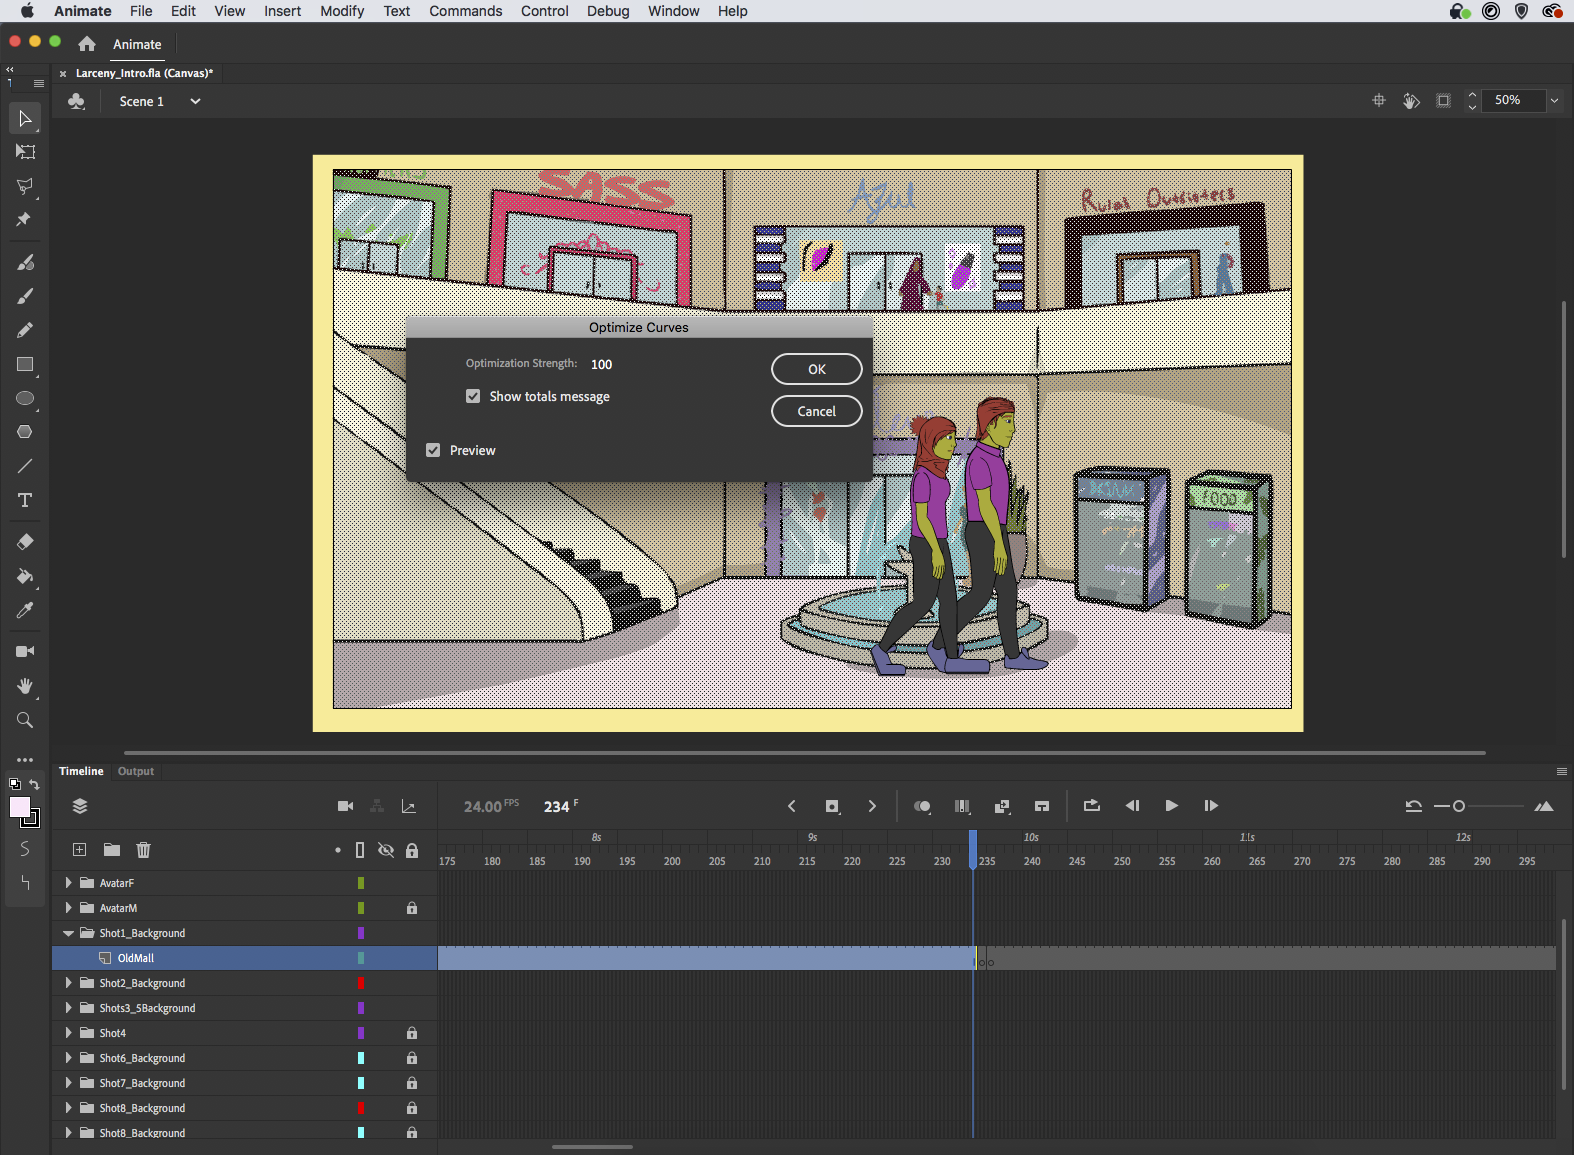
Final Notes:
Refer to palettization guide for skin tones, eye colors, and hair colors. Follow a naming guide. Layer your assets in every file with proper layer names, and properly label files (as described at the start of this page). Make regular commits, upload and export regular video updates. BACKUP your work on Google Drive regularly.
Workflow (caution: this is older)
In general, the art assets that an animator would work on for this project are as follows:
- Custom avatars and their features (hair styles, eyes, etc.)
- Animated clips that show some action like a crime or flashback
- Backgrounds: sometimes we need to export the setting from Adobe Animate as a raster background image like in the Courtroom scenes. In the future these need to be vector js as well to maintain a responsive user experience.
- Drawn text for narration scenes: text that is rasterized aka “broken” and baked into an image or clip.
Keeping in mind when and how to report to supervisors is important. This is also a general summary of the entire process from start to finish:
- Create Concept Art
- Think of what you are creating and why. Are you creating a defense attorney? Do you want them to seem incredibly competent, overworked? These things will be factors, potentially, in the research results. Come up with several variations before moving on.
- Respond to feedback, change designs according to Supervisor feedback.
- Once designs are approved, storyboarding must be done to get into full swing. Reference the script a lot during this portion of the process. During this process there should be at least 2 reviews of the storyboards so that the full intent of the script can be properly conveyed before animating begins.
- Once the storyboards are finalized, as well as the concept art, you begin by creating a rough draft animation. This can be several layers, but keeping them rough and minimal is preferred. Once again, this process should have at least 2 revisions in order to assure quality of work, optimal script cohesion, and style matching.
- The rough approval ends the beginning work for the animation, but it doesn’t end the need for style matching guidance. Refer to style guides (do we have these?) and have supervisors provide regular feedback on the assets.
- As you move on to the final version, regularly uploading and publishing videos to Google Drive / Documentation / Animation Review for regular online review by supervisors is a must. The final animation needs to be matching in style, have believable motion, and follow the script in a way that promotes the quality of research your supervisor needs.
Actors
Each Actor (such as the customizable avatar) when created should be centered in the middle of the screen. The current issue with actors is we’re unsure if programmers can move them around. This is something we should try to fix in future versions. As of now the Judge is to the left, the prosecutor is to the right, and the user avatars stray towards the middle. The figures should ideally never be on the screen at the same time or this issue might come to a head. In order to avoid complications, just place new actors in the center.
Each actor should have style matching to the currently existing assets, or they will potentially disrupt the immersion of the experience, which is important to the research. This is up to the discretion of individual supervisors.
Each actor has a list of mouth flaps, here is the list as a set:
- ai = { a, A, i, I, h, H }
- e = { e, E }
- o = { o, O }
- mb = { m, M, b, B }
- l = { l, L }
- u = { u, U, w, W, y, Y }
Each mouth flap needs to be set according to this.
Scenes
Most assets created in Animate will be manually published out of Adobe Animate as a .js javascript file. The published animations are in a vector format (asset scales in a lossless state according to the dimensions it is being viewed or rendered at). Some assets will be raster images (mainly used for backgrounds).