Getting Started with the Configuration Console
The researcher console is an online system from which you can design and run simulation studies. This document covers the basics of using the console and publishing a simulation.
- Create an Account
- Obtain Animated Assets
- Create a Scenario
- Add Scenes
- Add Experimental Conditions
- Copy, Swap, and Bind
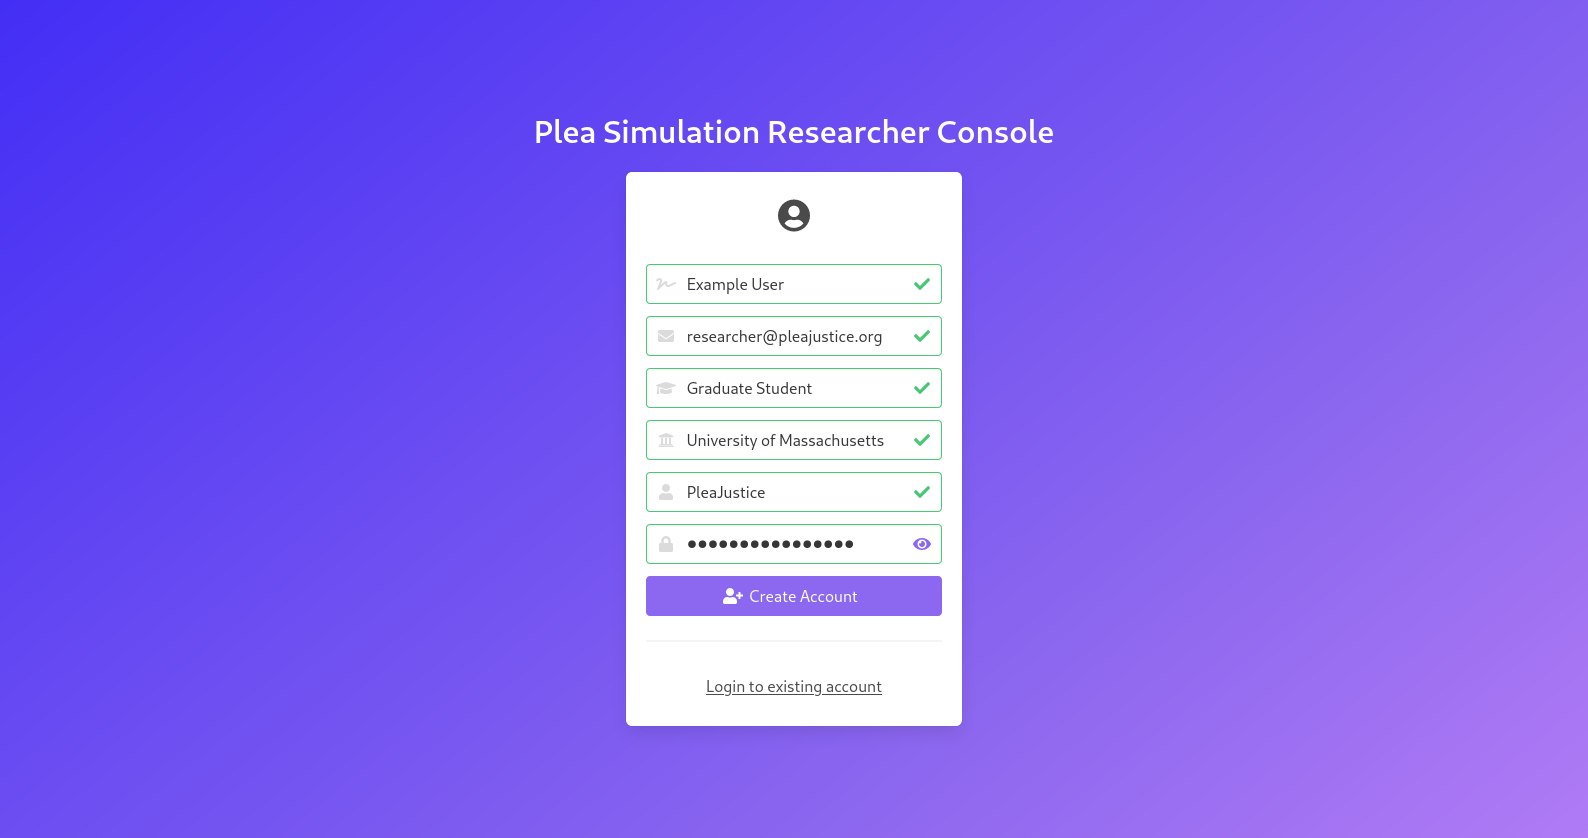
Create an Account
To access the researcher console, navigate to researcher.pleajustice.org and click “Create an Account”.
 |
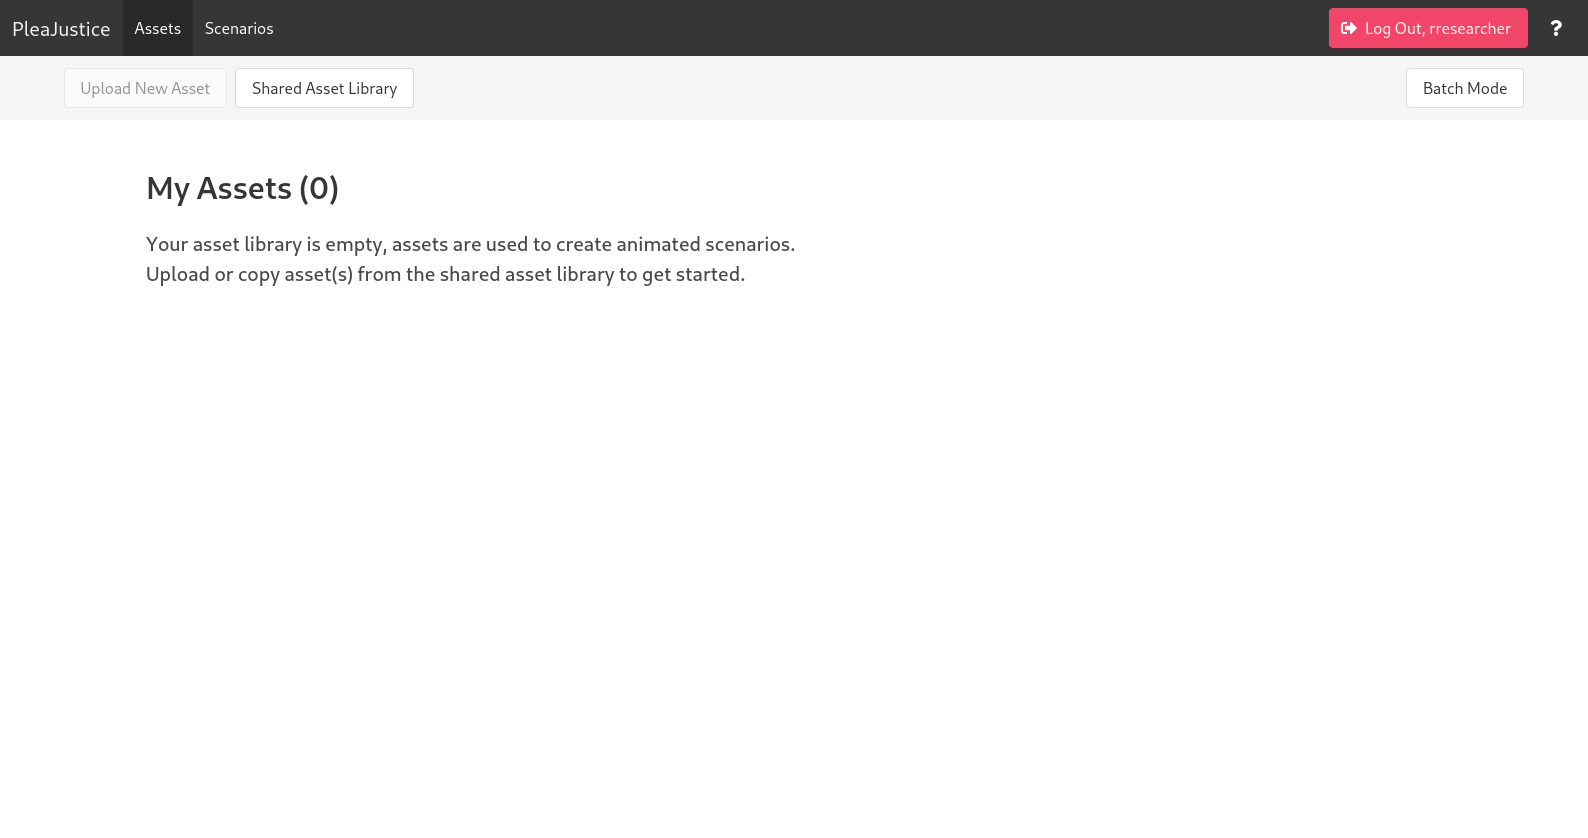
Obtain Animated Assets
Before creating a scenario, you will need to gather a set of images and animated clips from which you will later compose a storyline.
Assets may be copied in to your account from the library of assets shared by other users. To access these assets, navigate to the Assets tab in the navigation bar and click Shared Assets Library.
 | 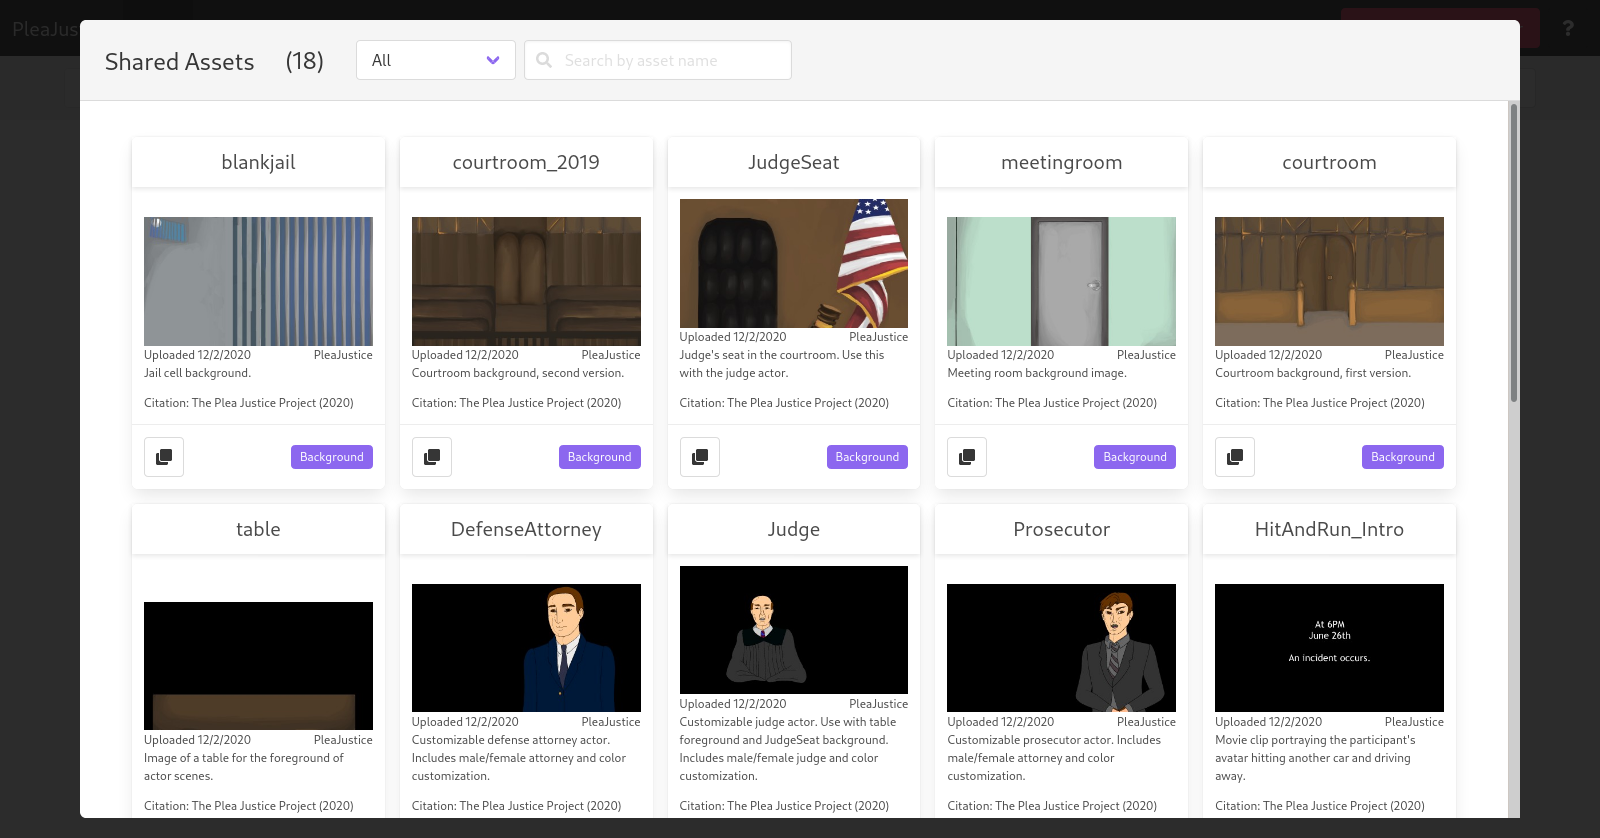 |
This will open a screen from which you may view all of the assets that have been shared publicly by other users. To copy them to your account, click the  copy button.
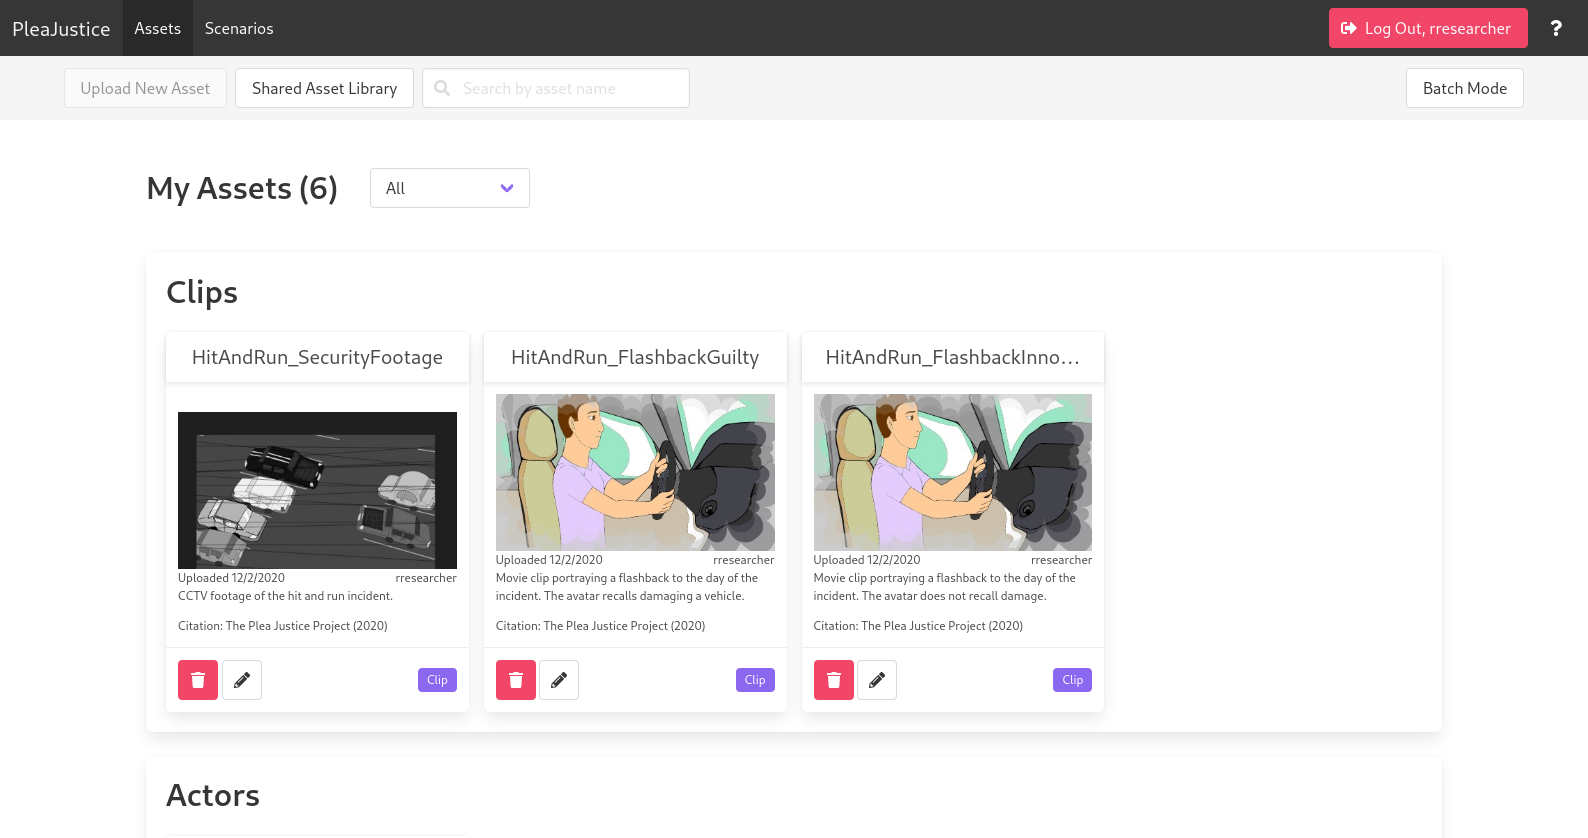 |
The assets are now available to your account. You may now select them for use when you create a new scenario.
Create a Scenario
A scenario represents a single simulated storyline. You may run an experiment in which participants experience a single scenario or multiple. Each scenario is composed of columns representing the different versions of the storyline participants will experience in each experimental condition.
To create a scenario, navigate to Scenarios tab in the navigation bar and click Create New Scenario. You will be prompted to provide a name and description for the scenario.
 | 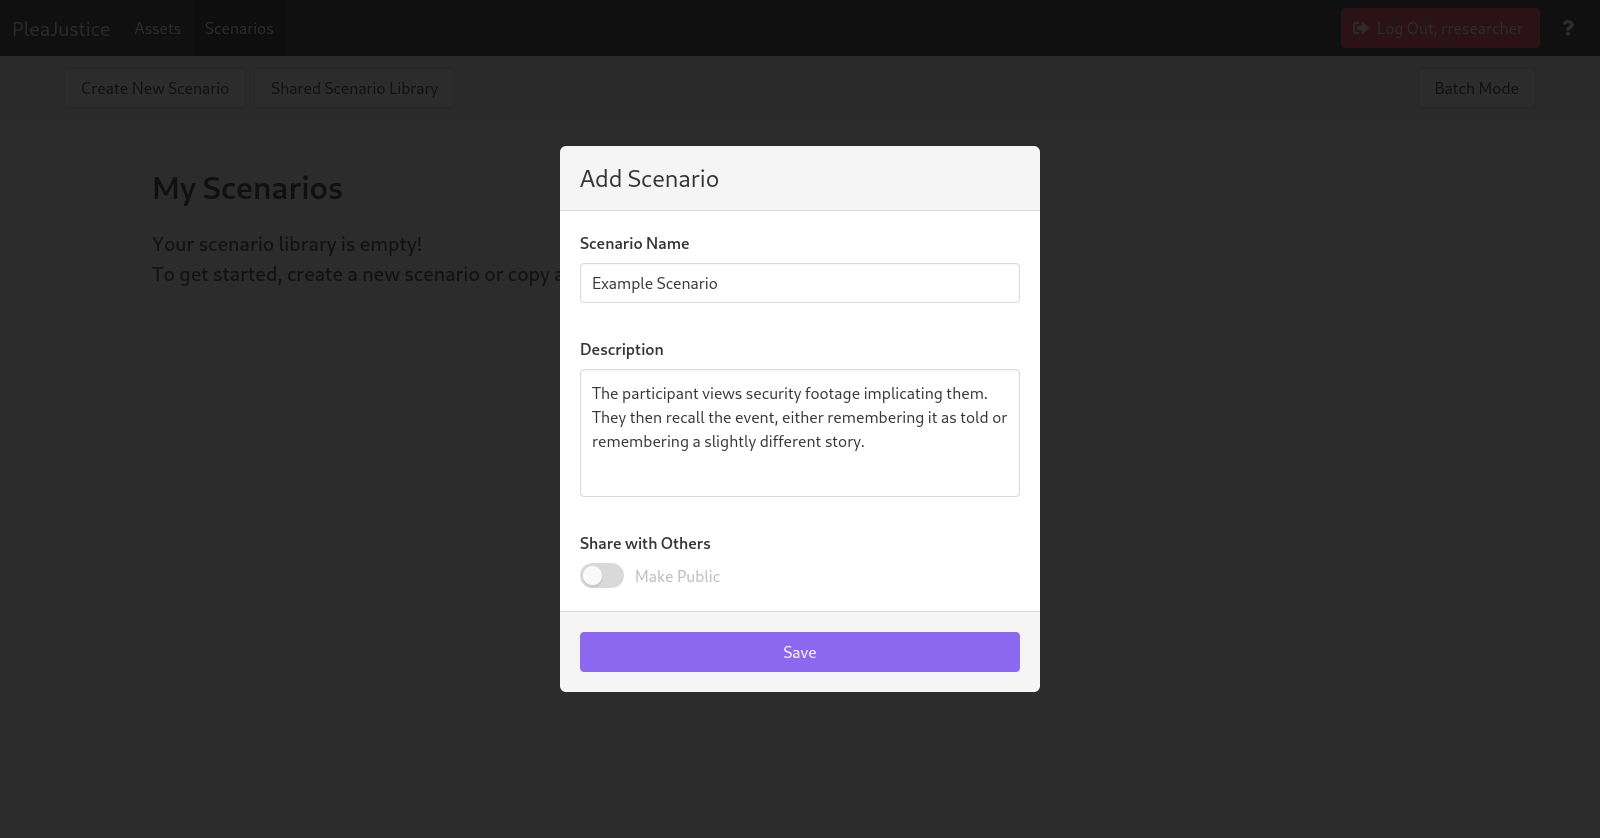 |
If you have requested permission from an administrator, you may also have the option to share this scenario with others. If you share your scenario, keep in mind that others may copy it and will continue to possess their copy even if you later retract access.
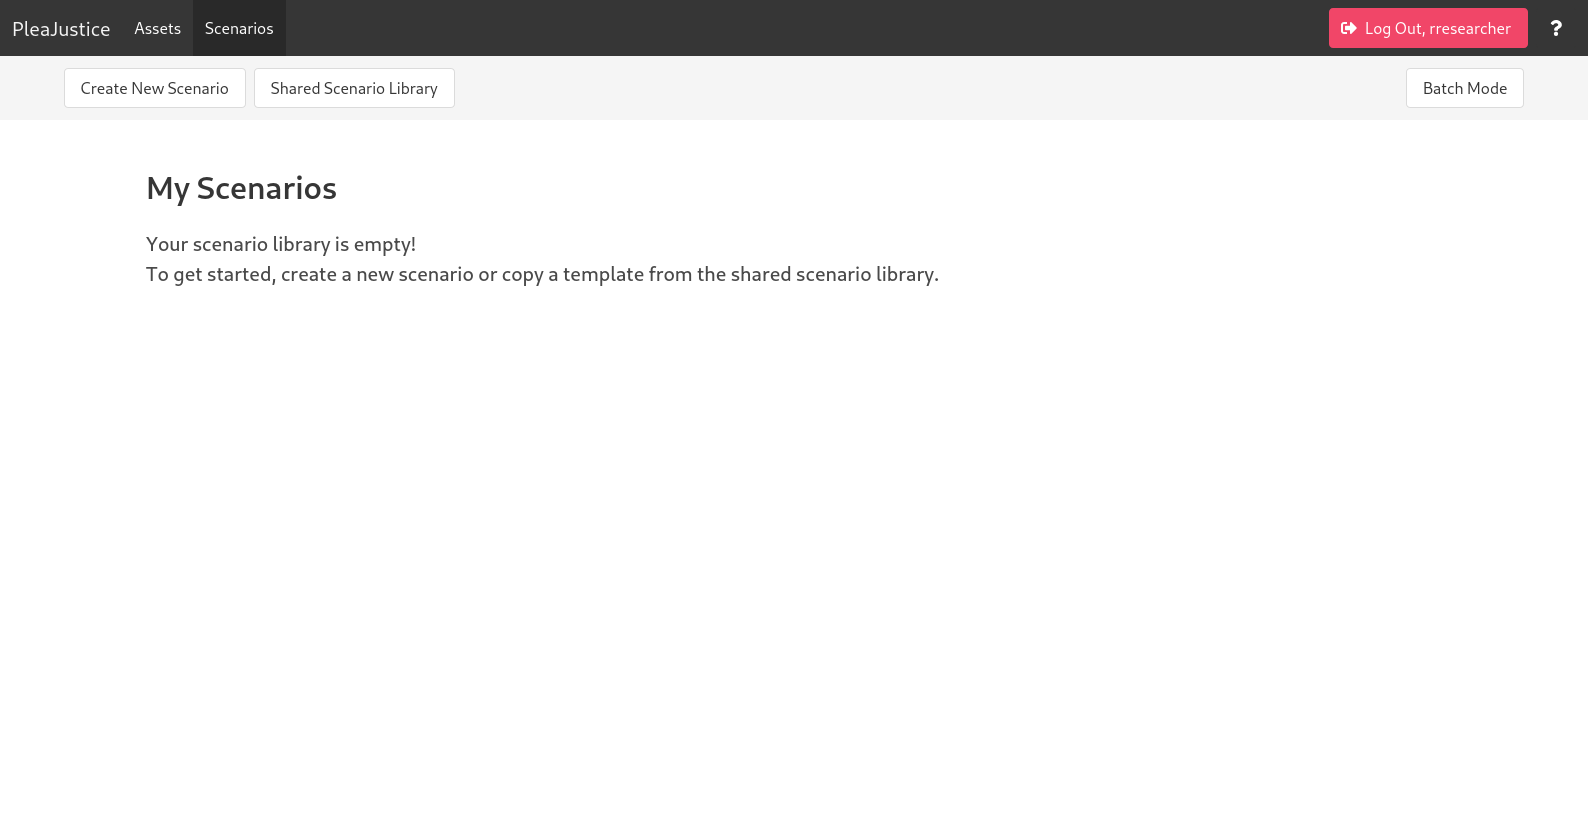
Click the scenario name to open the editor. You will notice a single empty column representing the timeline of scenes in your first experimental condition.
 |
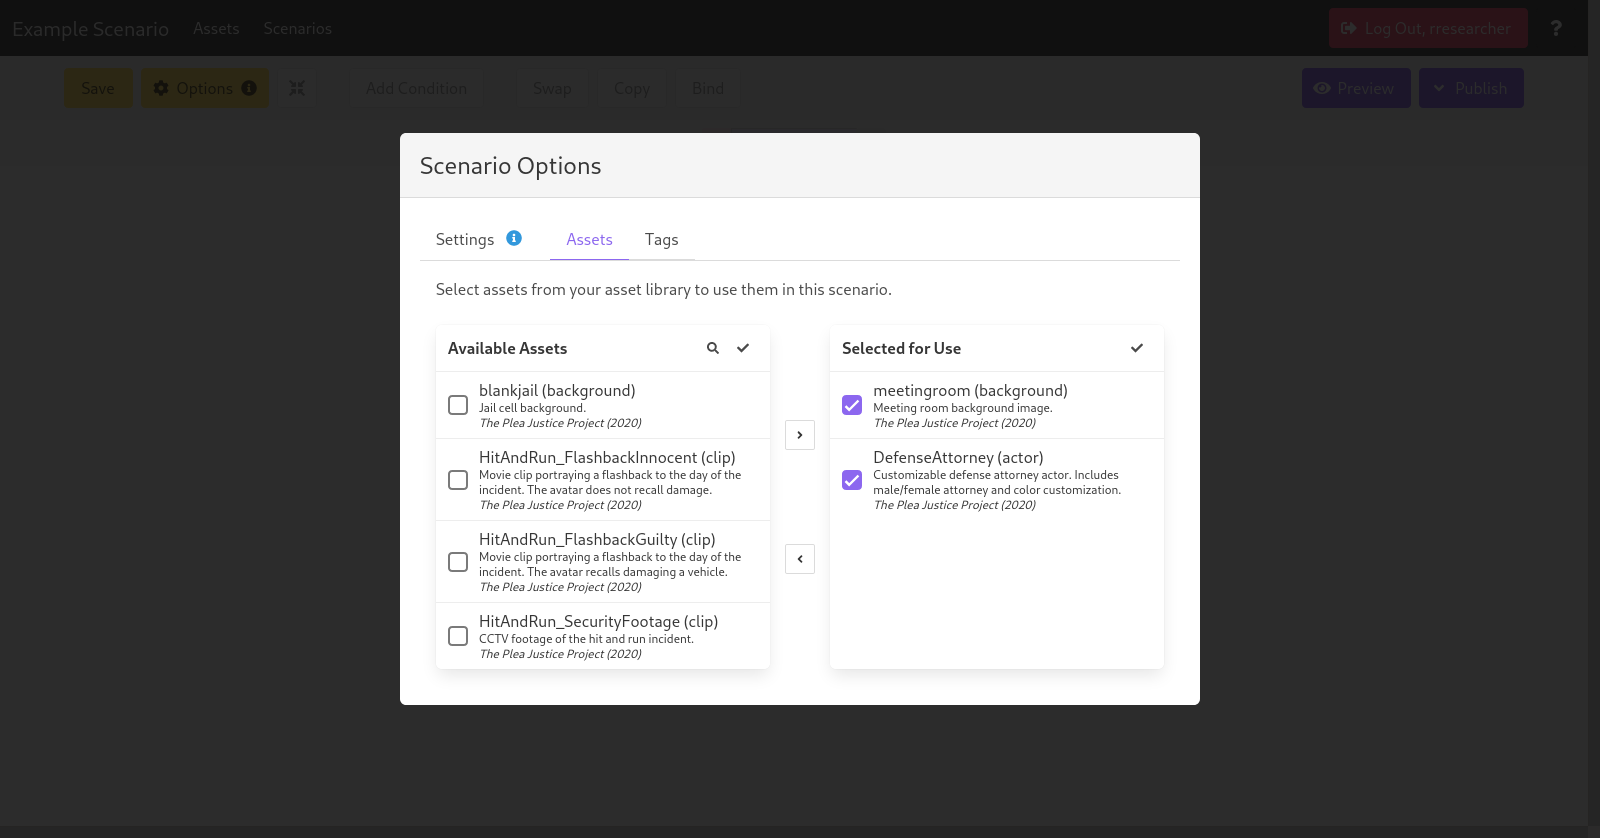
At the top left, click Options and open the Assets tab. The left column displays the list of assets available in your asset library. The right column will be empty; it lists assets that are used by this scenario. Assets will need to be selected on this screen before they can be used.
Select the checkbox on each of the assets you would like to include, then click the  right arrow button to move them to the Selected for Use column.
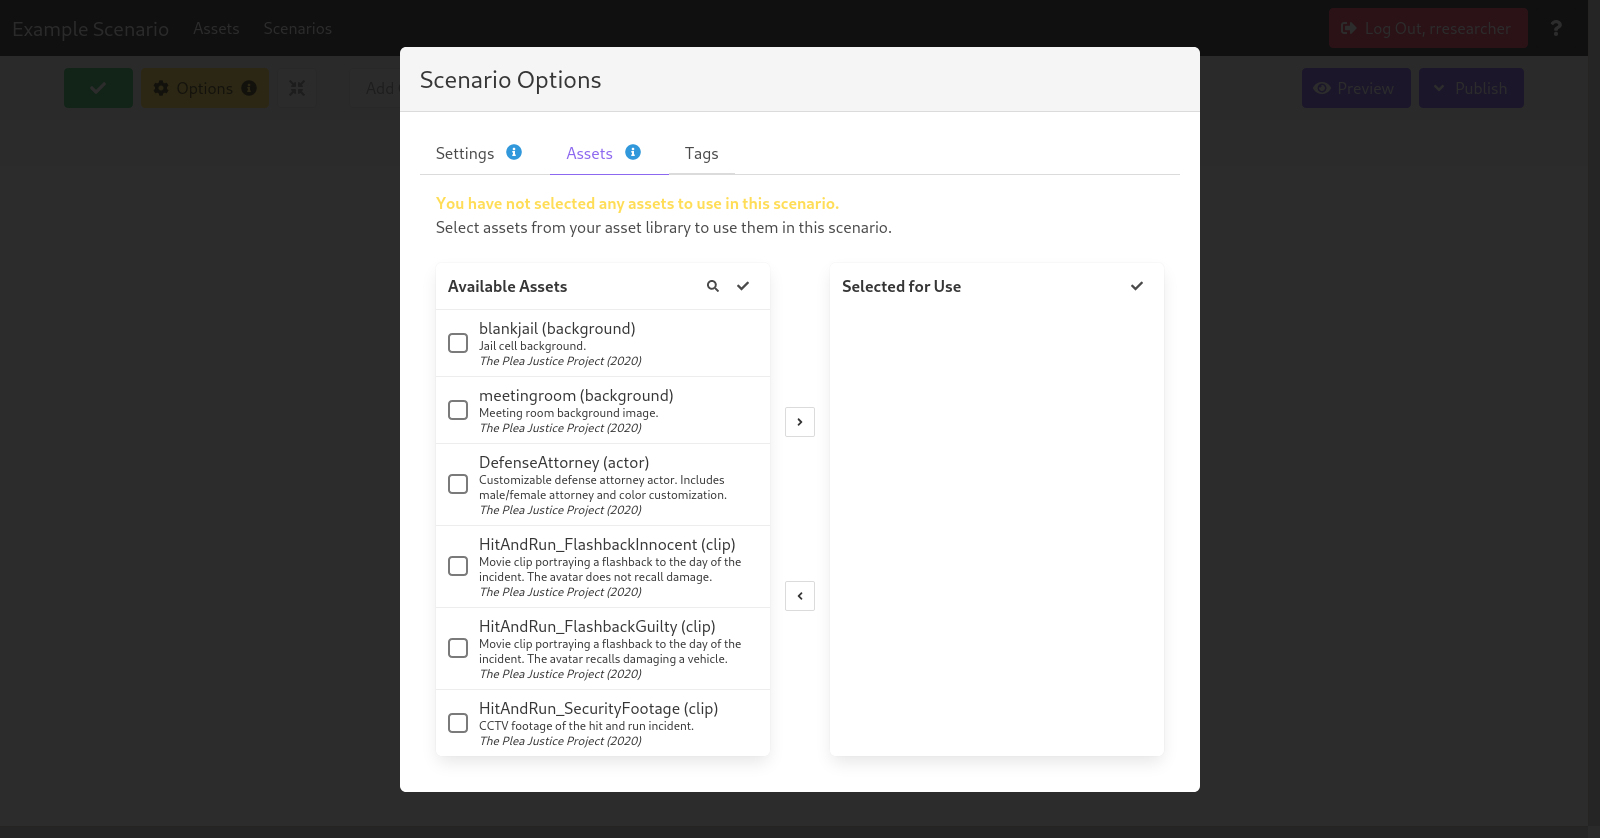 |  |
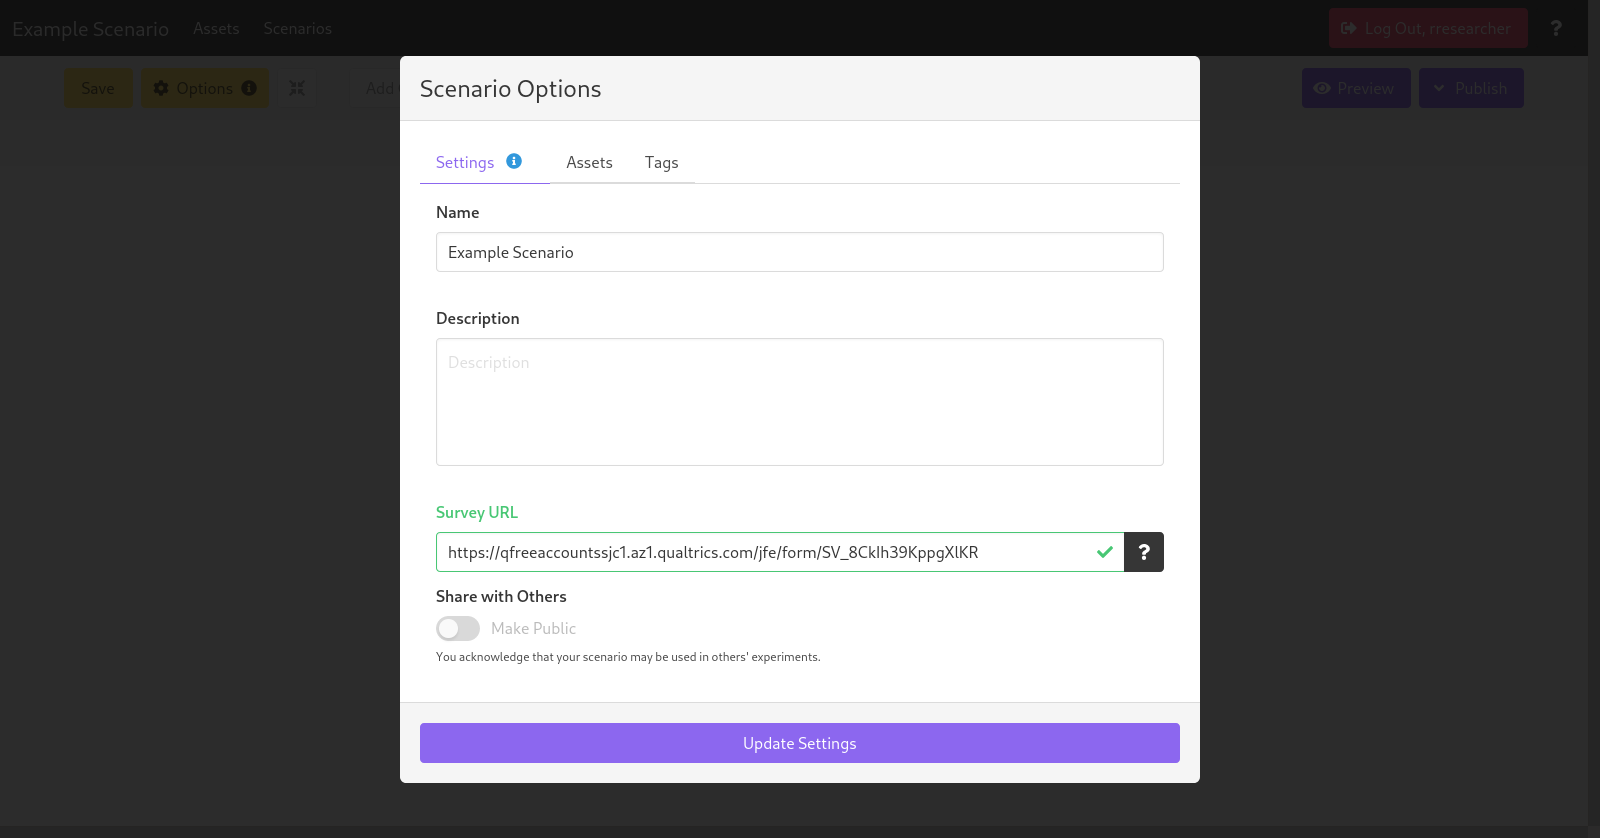
Now that you have selected a set of assets from your library, click the Settings tab. This tab allows you to edit properties such as the name and description of the scenario. It also allows you to add the Survey URL. This is the distribution URL of the Qualtrics Survey participants will be sent to when they complete the simulation. Paste your Qualtrics link here so that participants who complete the simulation will be sent back to the survey.
 |
When you are done, click Update Settings to return to the scenario editor. Click Save in the top left or hit ctrl + s to save your changes.
Add Scenes
The scenario editor presents a scenario as a set of vertical timelines labeled by experimental condition. Participants in condition one will be presented the version of the story in column one, those in condition two will be presented the version of the story in column two, and so on.
For now, we will set up the basic story with one experimental condition; additional conditions can be added later.
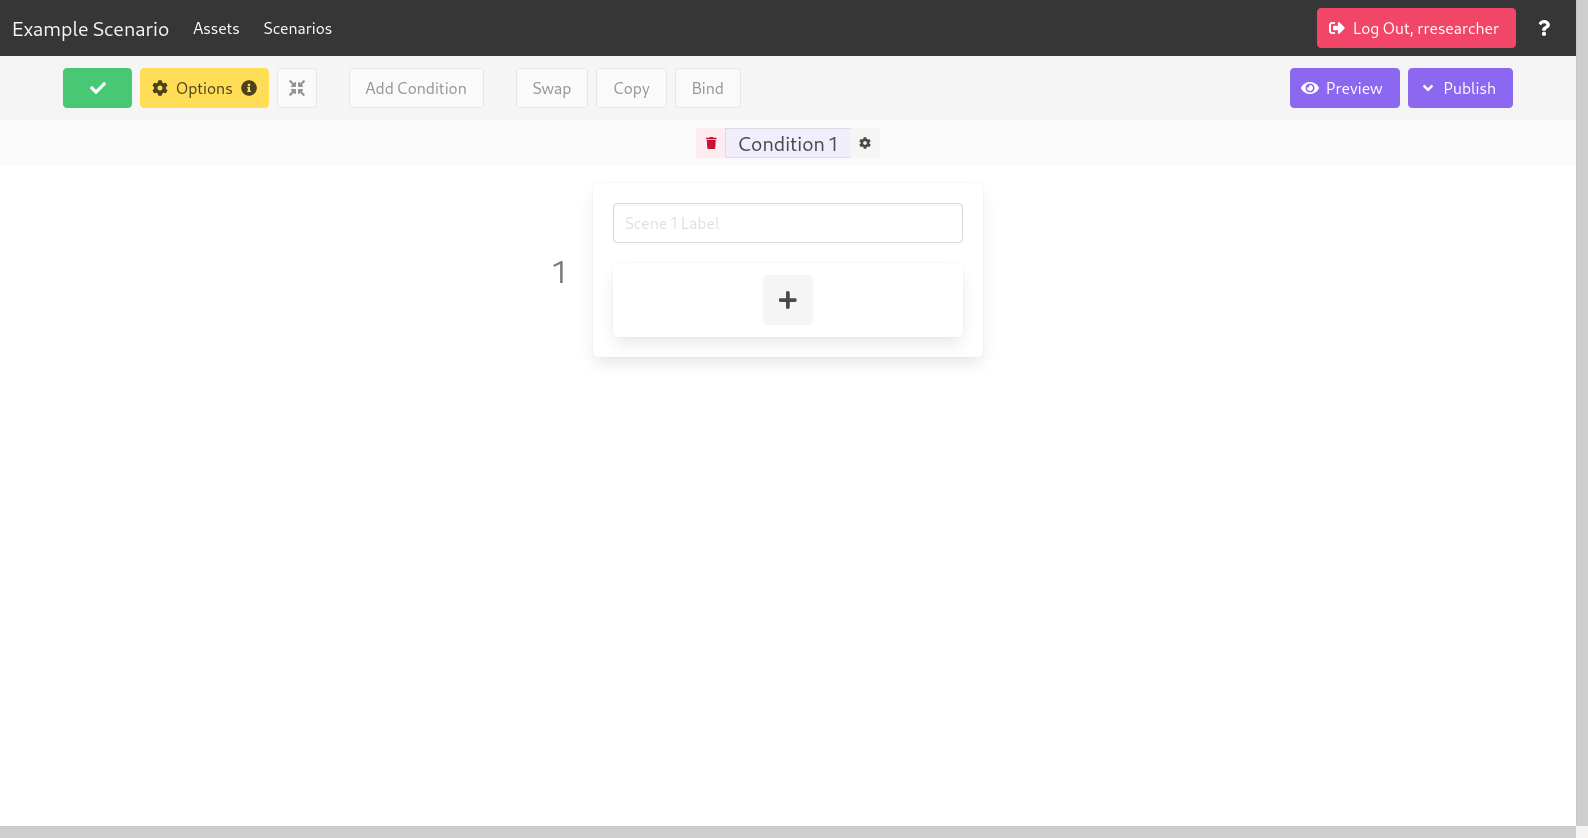
In the first frame of the story, click the  plus button to add a scene. If you have not already, provide a label for your first scene.
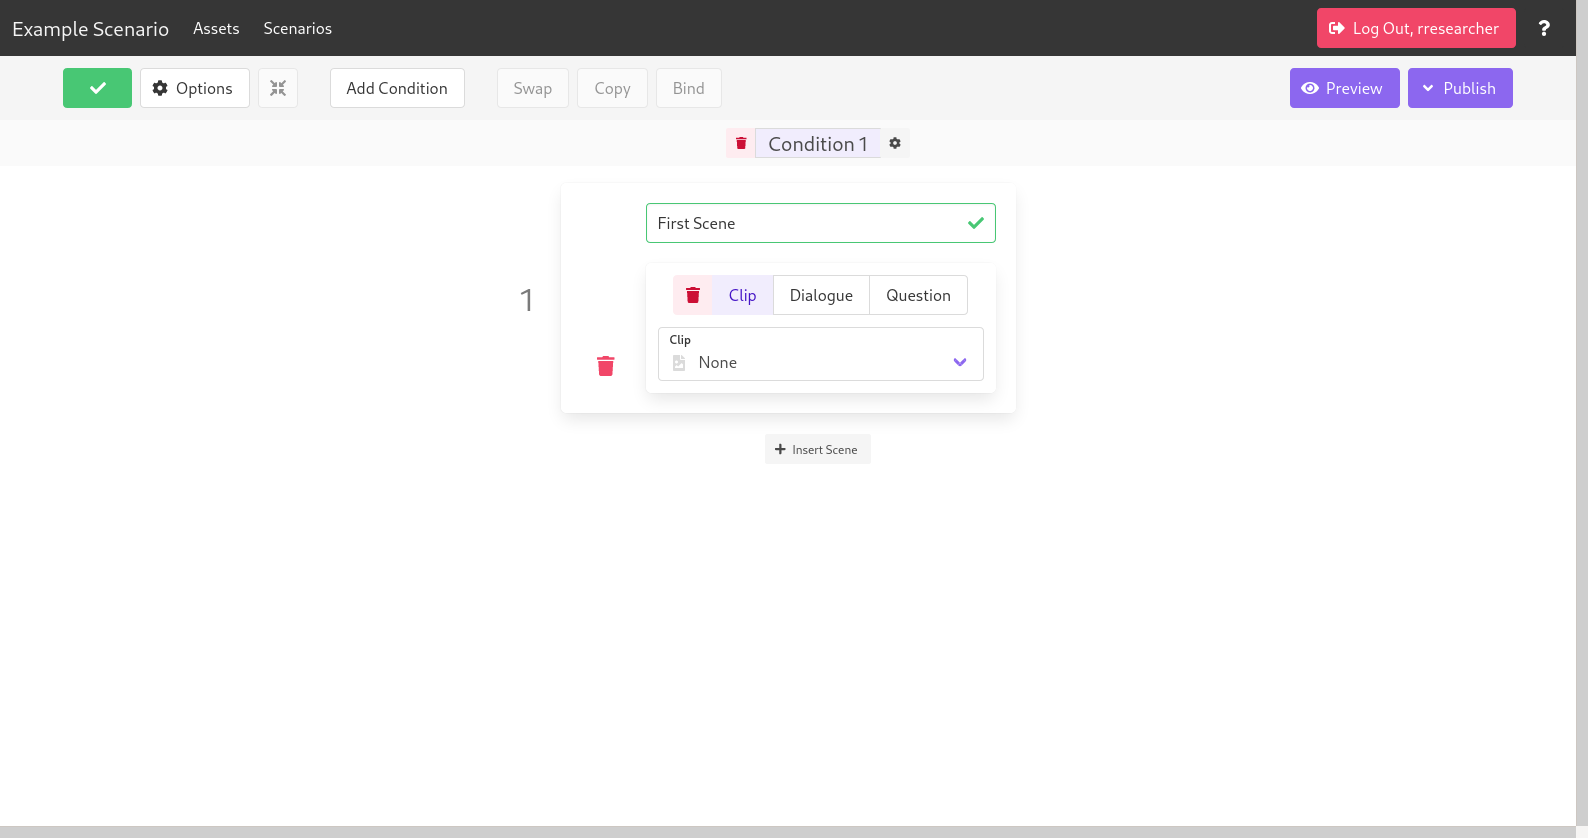 |
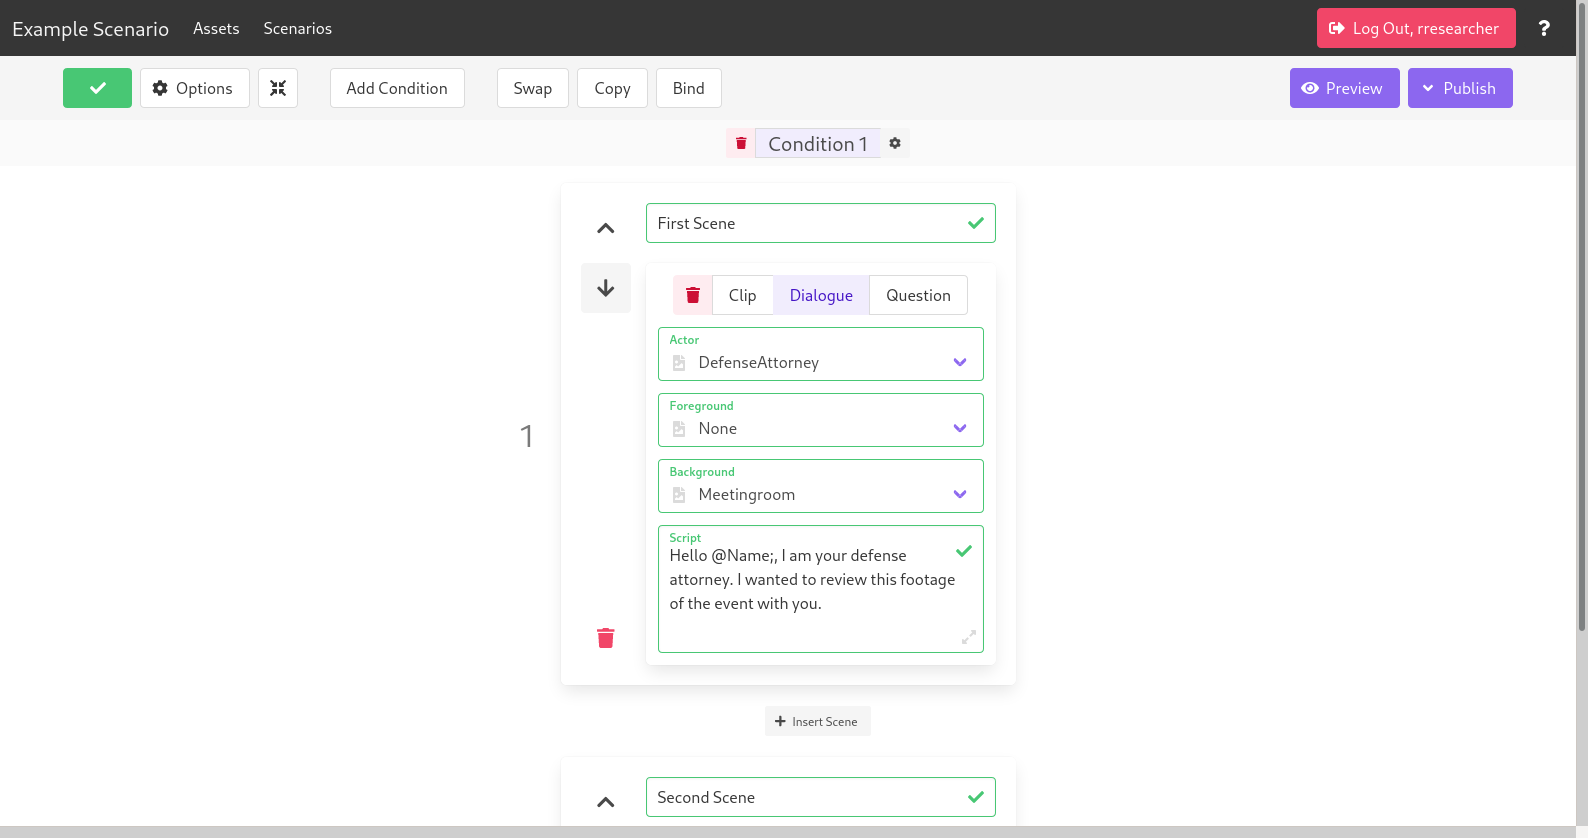
You will notice a row of buttons at the top of the scene corresponding to the possible scene types: Clip, Dialogue, or Question. Each will include dropdowns for you to select assets to show the participant along with other fields depending on the type.
 | 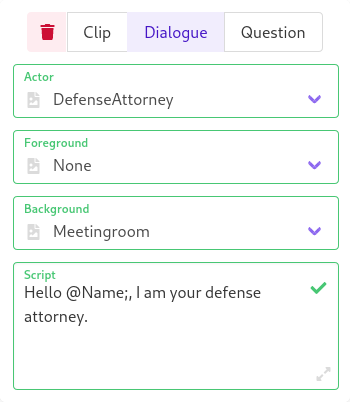 |  |
| A Clip plays a premade animated movie clip. | A Dialogue shows a single Actor speaking. What the actor says can be modified. | A Question can collect information from the participant. Buttons will appear on the screen and the participant's response will be sent back to Qualtrics. |
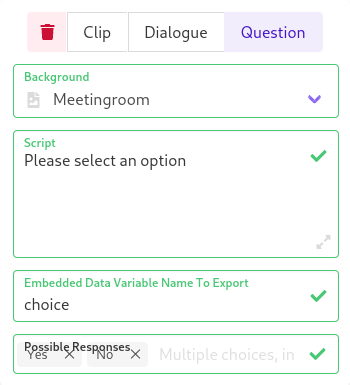
While Clip scenes do not have any customizable text, Dialogue and Question scenes include a textbox labeled Script. Any text entered in this box will be presented to the participant from within the simulation as an orange box at the bottom of the screen.
 |
The Question type has additional fields labeled Embedded Data Variable Name to Export, which is necessary to send the participant’s response back to Qualtrics, and Possible Responses, which is the list of multiple choice responses that will be available to the participant. Note that the order of this list is important; responses will be recorded as a number corresponding to the option selected (e.g. choice=1 corresponds to "Yes" as in the example above).
Add Experimental Conditions
After creating a story with our timeline of scenes in Condition 1, we can add more experimental conditions to our simulation study. Click Add Condition in the toolbar to duplicate the existing timeline.
 | 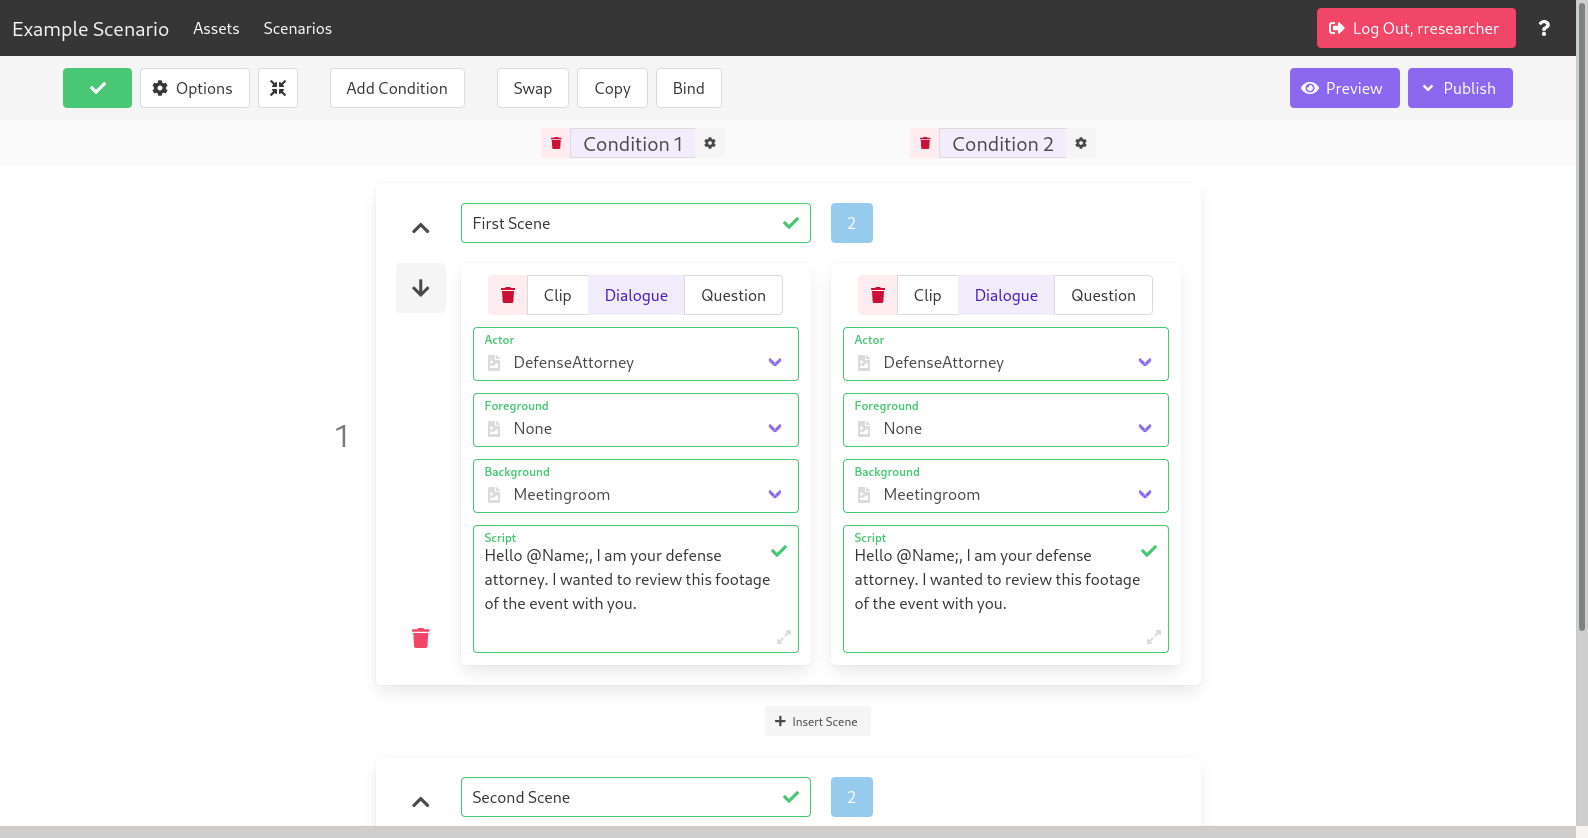 |
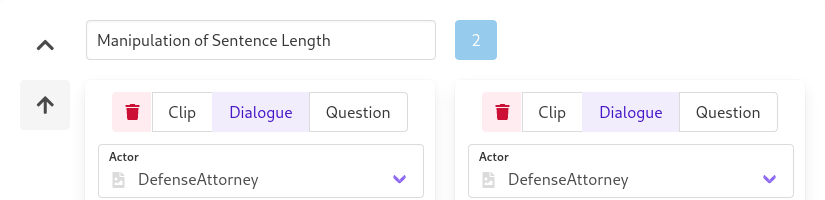
This new condition will be identical to the first. We may manipulate variables by making changes to this new condition so that it is slightly different than the first. For instance, we can manipulate a variable such as sentence length by varying the Script in a dialogue scene across conditions.
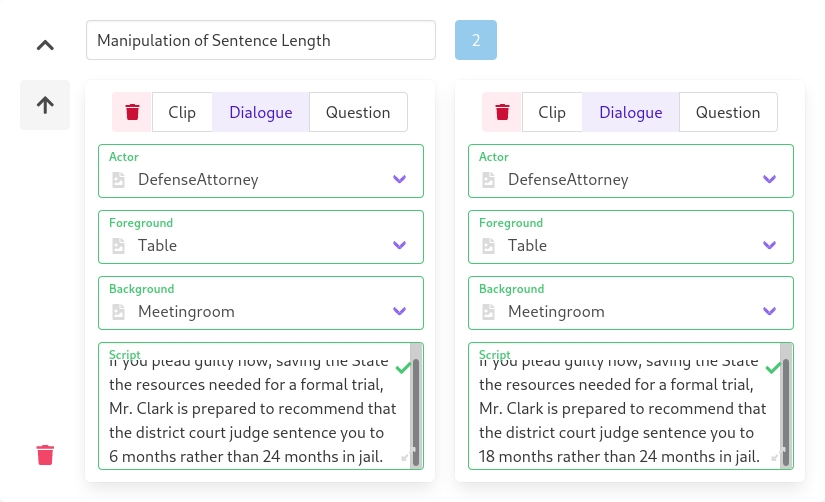 |
| Note the script is different in these two conditions. In one condition, the participant sees “6 months”. In the other, they see “18 months”. |
Copy, Swap, and Bind
While some of your scenes may include maniupulations, the vast majority will remain the same across conditions. Several utilities in the toolbar can make this easier.
Copy
Copy allows us to copy one scene to one or more others. Click Copy in the toolbar, then click the scene you wish to copy followed by each scene you would like to replace. Click Done to complete the copy operation.
 |
Swap
Swap allows us to swap the order of any two scenes in the same experimental condition (column). This is useful for counterbalancing.
To swap scenes vertically, click Swap in the toolbar, then click the two scenes you wish to switch the order of.
 |
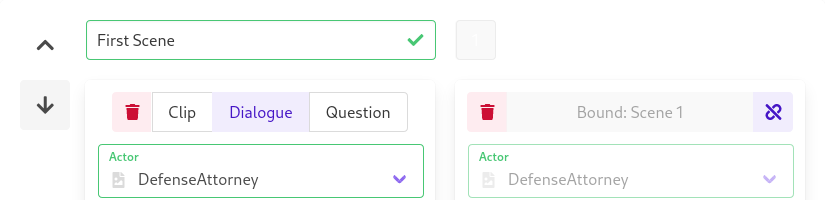
Bind
Bind is an advanced feature that allows us to guarantee certain scenes are identical across conditions (since it can be easy to accidentally introduce unwanted differences). A scene that is bound will remain identical to its parent, and will even be updated if the parent changes.
To bind scenes, click Bind in the toolbar, then click the parent scene you followed by each scene you wish to bind to it. Click Done to complete the bind operation.
 |
Click the  unlink button in the top right of a bound scene to unbind it.
Notice the counter present at the right of each frame label. This lists the number of scenes which are unbound. When no scenes are bound, this will be equal to the number of experimental conditions. When all scenes are bound, this box will not be present. The bind counter offers a quick way to check which scenes manipulate variables.
 |  |
| Two unbound scenes. | Zero unbound scenes; no manipulation. |